So far, I’ve talked about some fairly basic aspects of HexOS. I discussed the setup process and the issues I had with hardware. Later, I expressed some issues I had with HexOS and how I was able to get around them using the TrueNAS UI. At this point, I have working instances of Jellyfin (a self-hosted Netflix-like application) and Immich (a self-hosted Google photos). Today, I’d like to combine both ideas and describe how I was able to solve a hardware and software issue: enabling hardware acceleration with GPU Passthrough.
Why GPU Passthrough
Immich and Jellyfin can run without a GPU, but hardware acceleration significantly improves their performance. For example, Jellyfin is available on all different kinds of devices - TVs, Cellphones, etc. Using transcoding, users will have a much more consistent and reliable experience. This can best be accomplished using GPU hardware acceleration.
Further, if you want to use the better object detection models in Immich, you need a GPU. Otherwise, it might take hundreds of hours to churn through an entire photo album via CPU.
However, it’s not currently possible to grant access to your video cards in HexOS. For now, the only method in HexOS is to utilize the TrueNAS UI.
Picking a GPU
The first step, as with anything computer related, is to install your GPU into the machine. Previously, I had planned on using a spare GTX 560. However, after recently updating my main gaming computer, I was able to migrate over my old motherboard into my NAS. After several hours of troubleshooting, I figured out that the GTX 560 was no longer compatible with the newer PCIE standard. After looking into alternatives, I decided on a RTX 3060 with 12 GB of VRAM.
Lesson learned: Don’t trust ChatGPT on whether or not a GPU will work with your motherboard.
After reading around, it seems like the expectation is that your graphics card should work out of the box. We only need to configure each app we want to access our GPU.
Passthrough via TrueNAS UI
The first step, is to tell TrueNAS to grant each app access to my GPU. However, when I first tried toggling the UI, I got the following error:
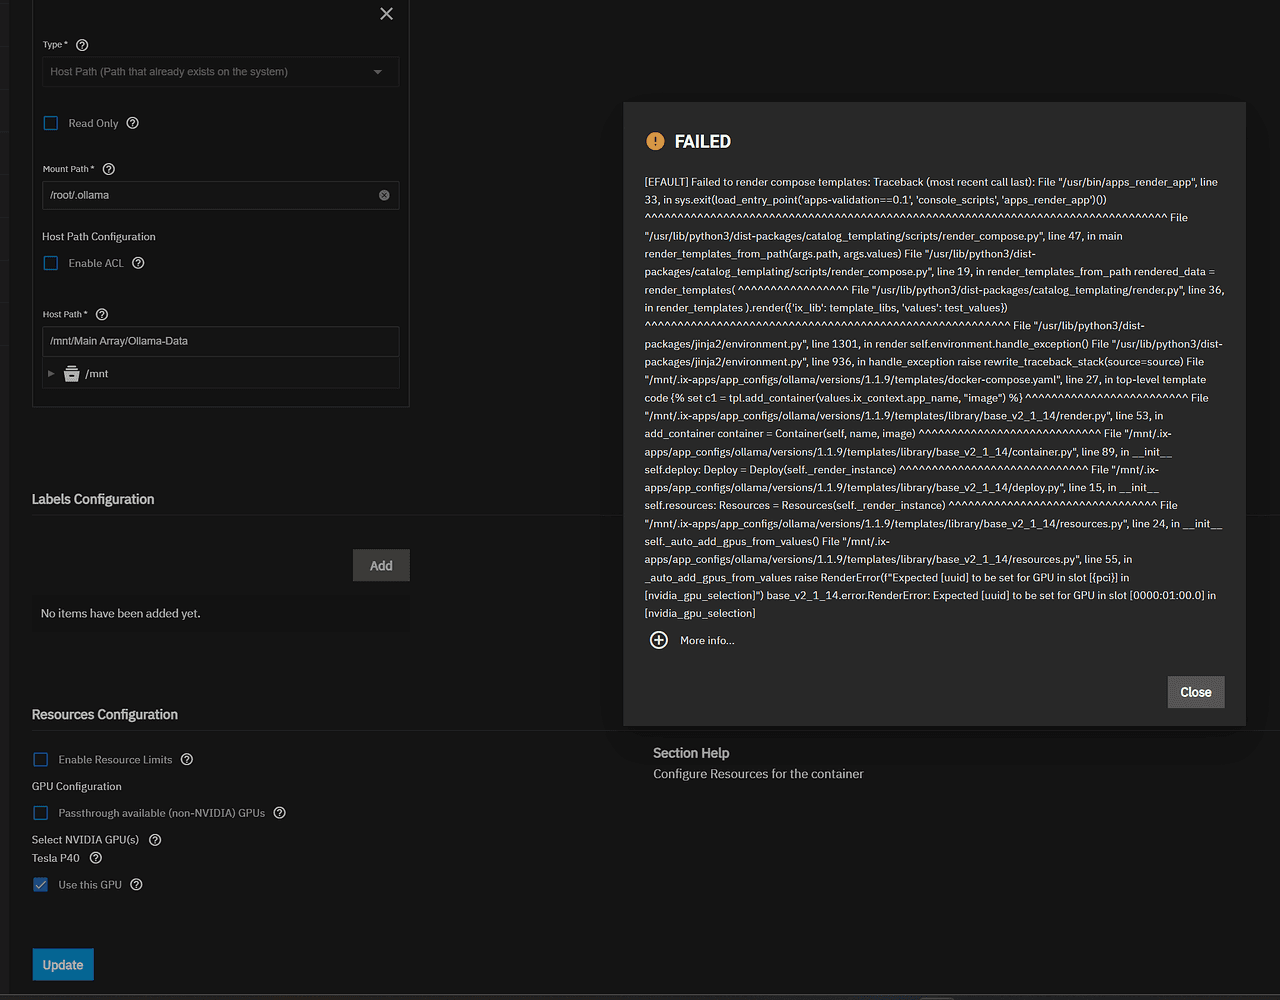
I didn’t take a screenshot, but I found someone else’s here on the form
It turns out that HexOS is using an older version of TrueNAS that has issues with NVIDIA drivers. I cannot verify if the latest versions of TrueNAS resolve this issue. Luckily, the above thread does include a work around to fix the issue.
The Fix
A quick search led me to a TrueNAS forum thread with a solution. The fix will involve using the CLI on your machine. If you are not able to physically access the machine or SSH into it, the TrueNAS UI contains a shell built in at /ui/system/shell.
First, make sure that the nvidia drivers are all installed (they should already):
apt install nvidia-driver nvidia-container-runtime
Next, you need to run midclt call app.gpu_choices | jq to determine the pci_slot and UUID for your GPU.
{
  "0000:Xd:00.0": {
    "vendor": "NVIDIA",
    "description": "NVIDIA GeForce RTX 3060",
    "vendor_specific_config": {
      "uuid": "GPU-45a683c3-3b0f-4839-950d-dfea458d1a6d" // Fake UUID
    },
    "pci_slot": "0000:Xd:00.0"
  }
}
In the above example, those values are 0000:Xd:00.0 and GPU-45a683c3-3b0f-4839-950d-dfea458d1a6d (though yours may differ). Next, using those settings, we need to run the following command for each of our apps (APP_NAME).
midclt call -job app.update APP_NAME '{"values": {"resources": {"gpus": {"use_all_gpus": false, "nvidia_gpu_selection": {"PCI_SLOT": {"use_gpu": true, "uuid": "GPU_UUID"}}}}}}'Above is what the command on the TrueNAS form looked like. Below is what I ran to enable GPU passthrough for Jellyfin:
midclt call -job app.update jellyfin '{"values": {"resources": {"gpus": {"use_all_gpus": false, "nvidia_gpu_selection": {"0000:Xd:00.0": {"use_gpu": true, "uuid": "GPU-45a683c3-3b0f-4839-950d-dfea458d1a6d"}}}}}}'And then again for Immich:
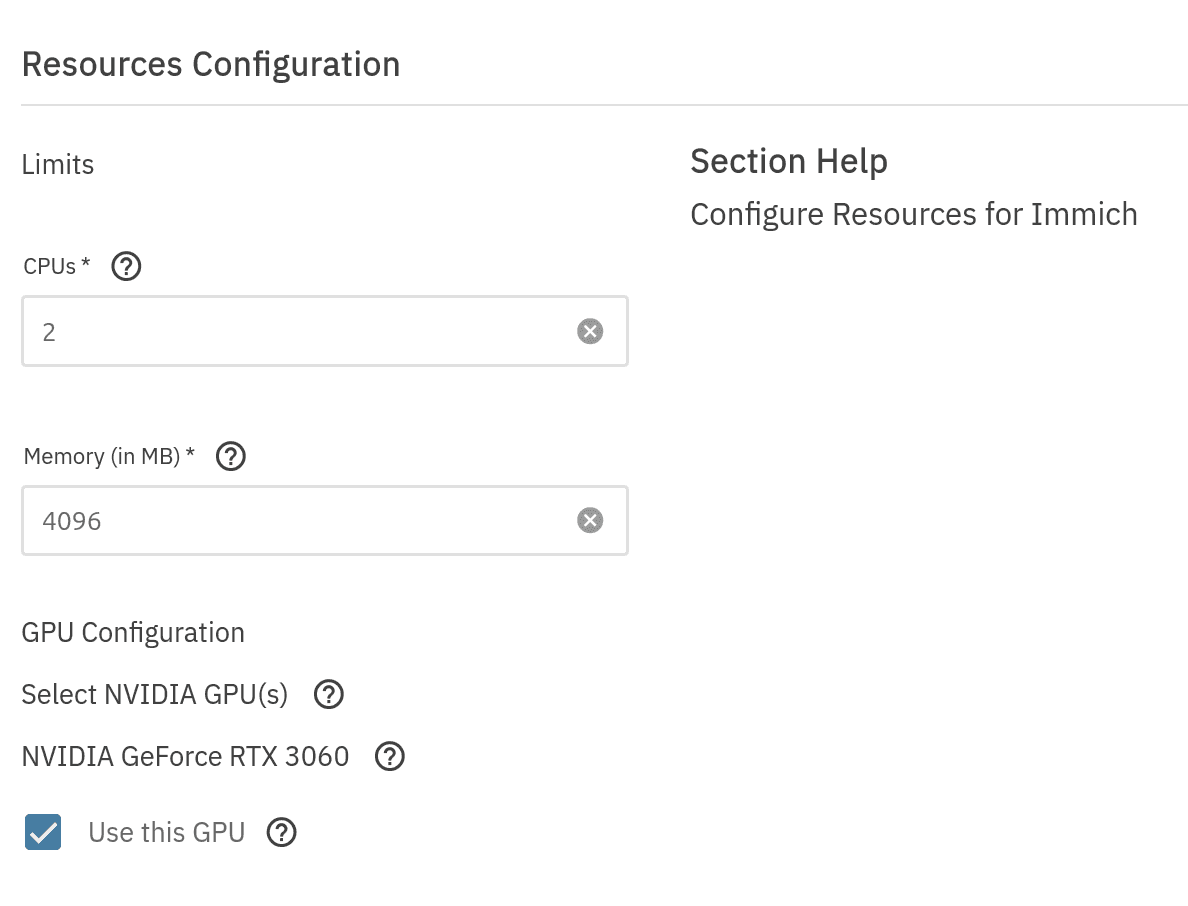
midclt call -job app.update immich '{"values": {"resources": {"gpus": {"use_all_gpus": false, "nvidia_gpu_selection": {"0000:Xd:00.0": {"use_gpu": true, "uuid": "GPU-45a683c3-3b0f-4839-950d-dfea458d1a6d"}}}}}}'The above commands will return a JSON body representing the configuration of each app. They will also force each app to restart. If you inspect the UI, the toggle should now be enabled!
Immich Setup
Immich uses a dedicated container just for machine-learning tasks, which the TrueNAS UI can switch out for one that supports NVIDIA GPUs.
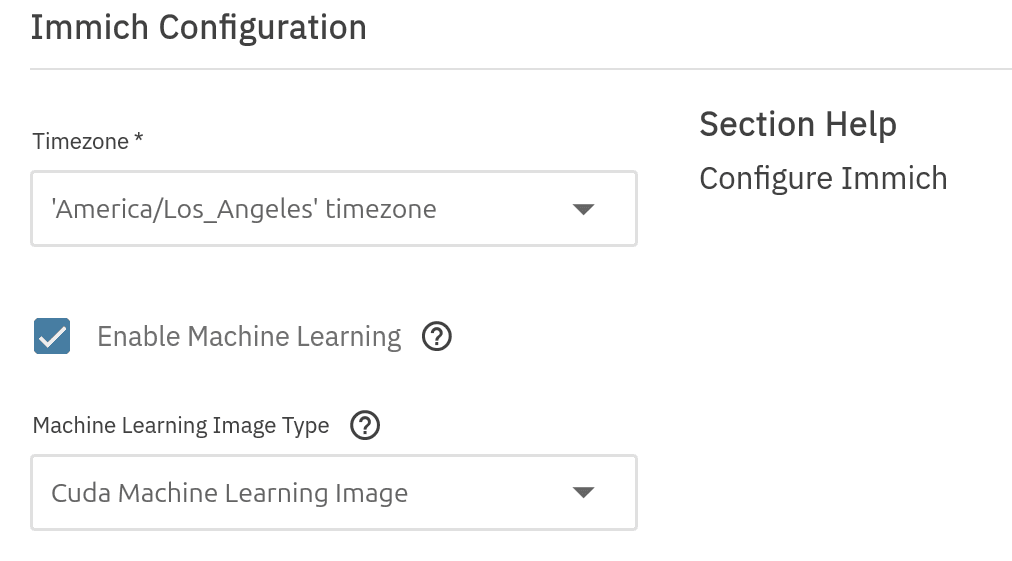
After enabling the toggle and selecting the correct container, we are good to go! I decided to update Immich to utilize the best model they had available.
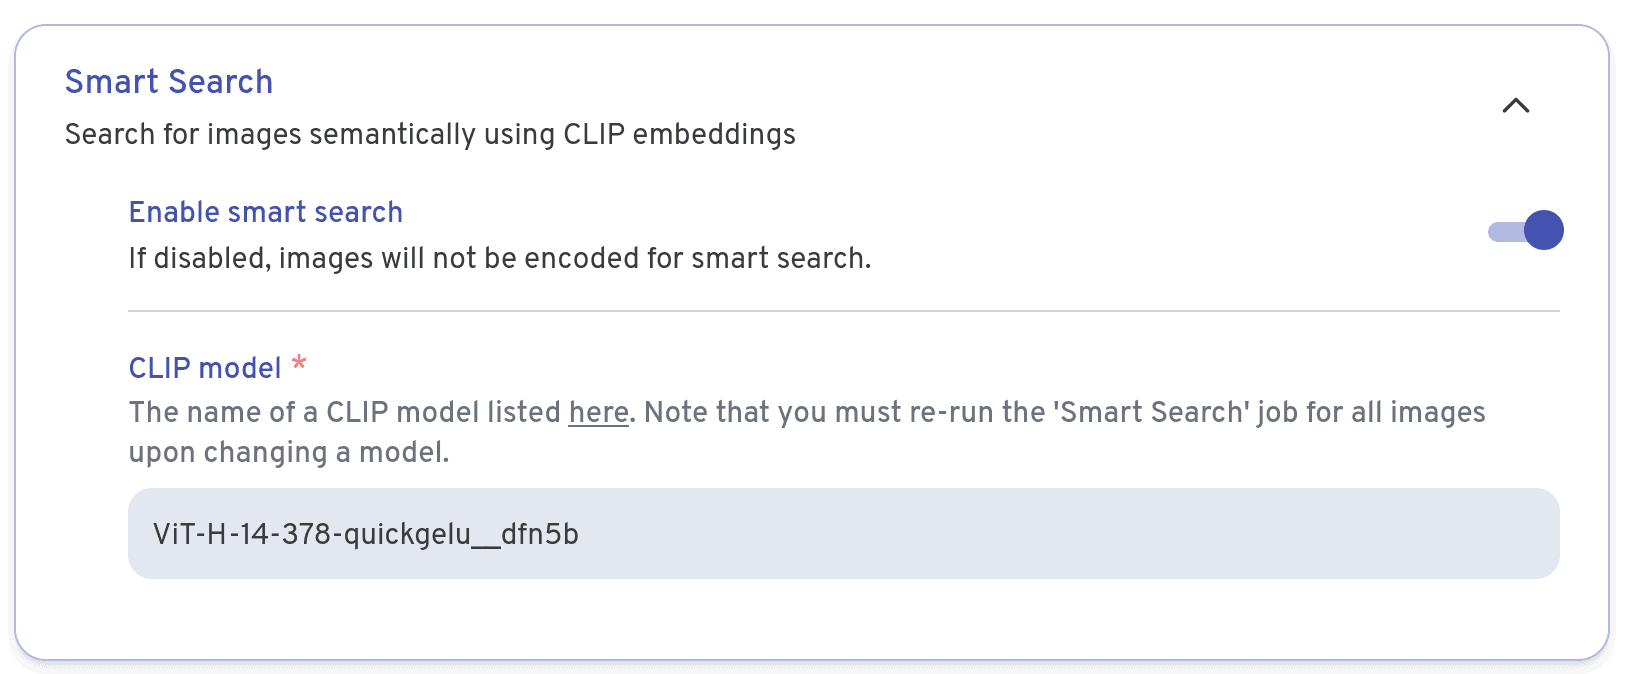
I wish that Immich provided better metrics, but I was able to run the largest model on all 30k photos in less than 6 hours. You may want to play around with the exact model/job concurrency works best for you.
Jellyfin Setup
Jellyfin has much the same steps as Immich. All you really need is to toggle the same switch in TrueNAS.
The only real problem is configuring the Jellyfin’s transcoder to match the feel/performance you desire.
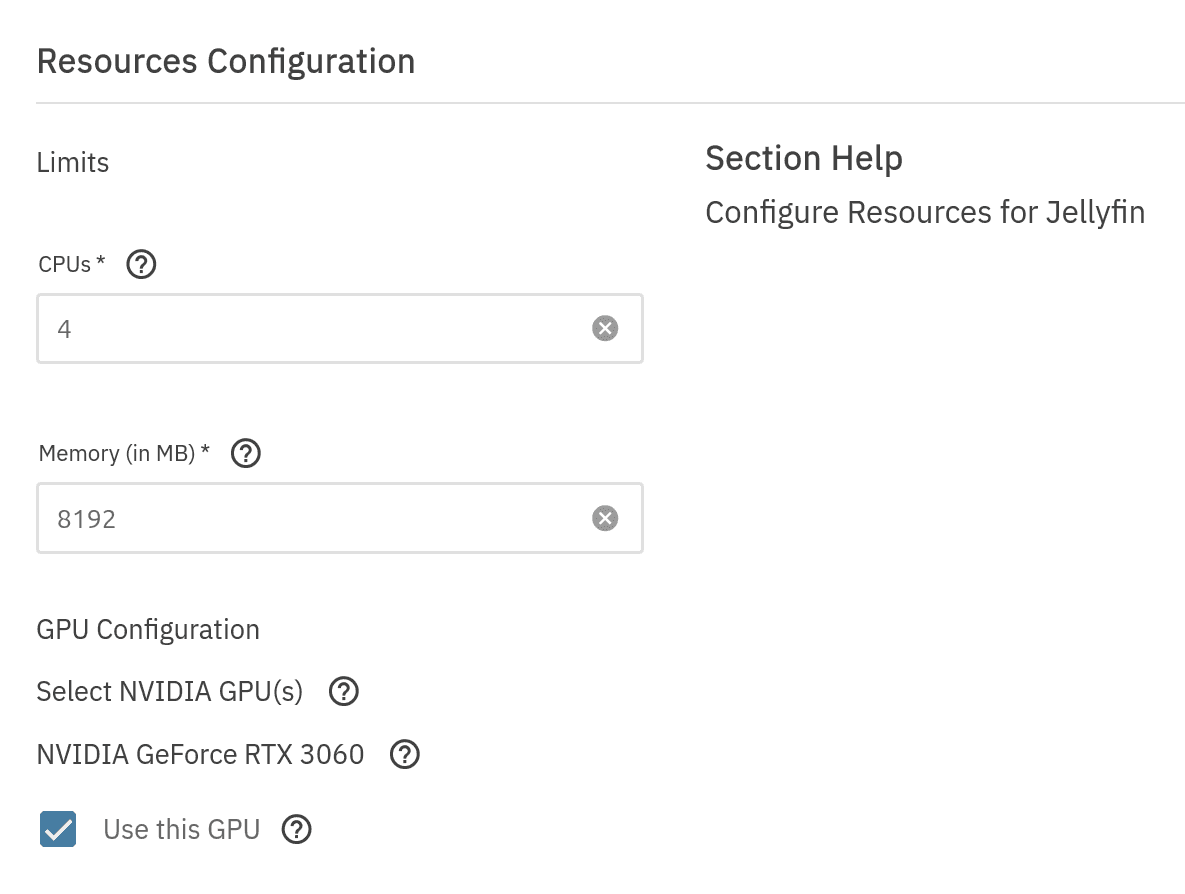
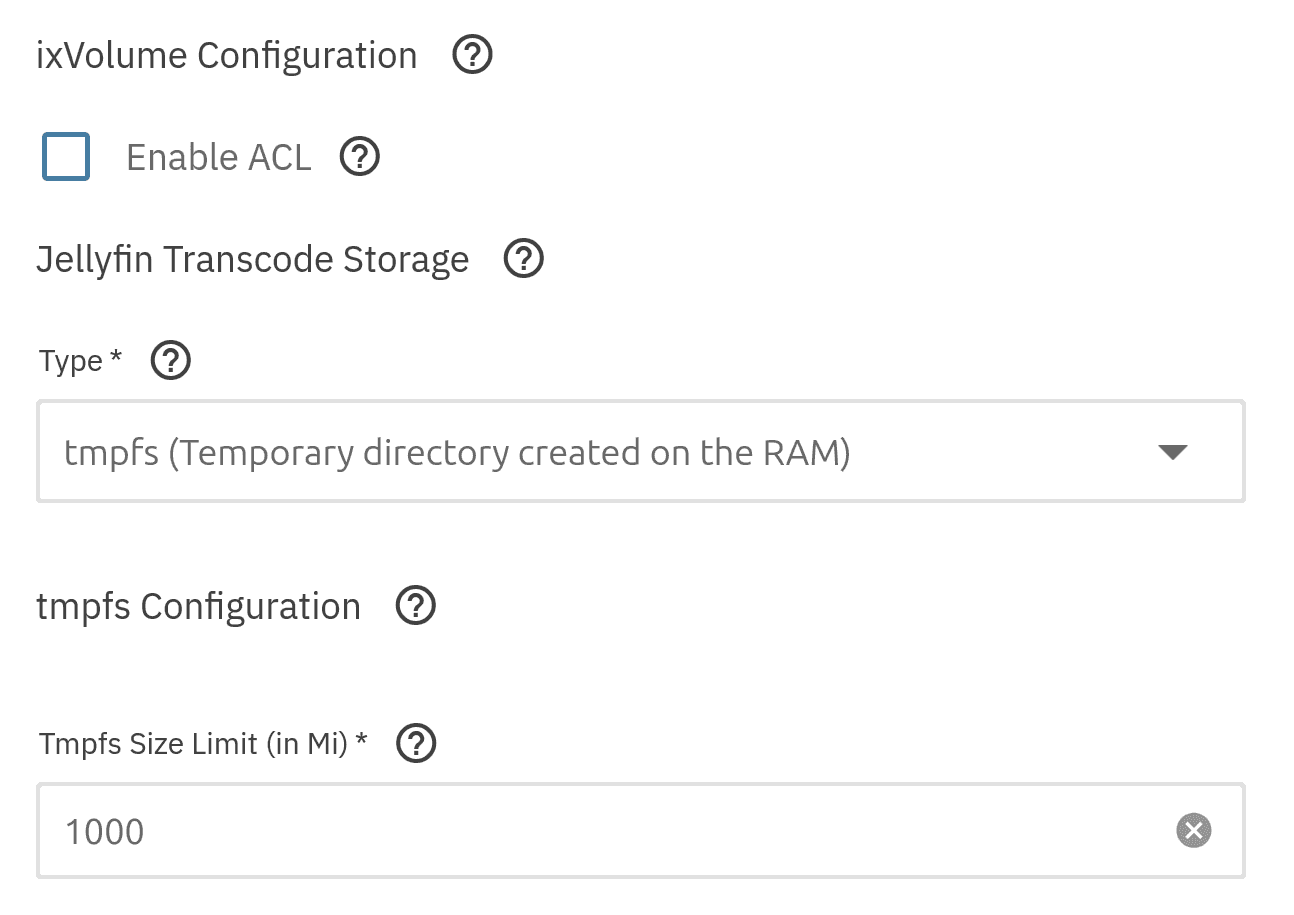
Depending on what hardware you are using, the steps may differ (read the relevant guide for you). However, I mostly kept the default settings. Because I am using HDDs for my NAS, I decided to update the TrueNAS UI to keep the transcode cache on RAM.
Debugging Performance
If you are worried that an application might not be using the GPU as you expected, you can always run nvidia-smi on your NAS. Below you can see what my GPU looks like while I stream a movie on Jellyfin.
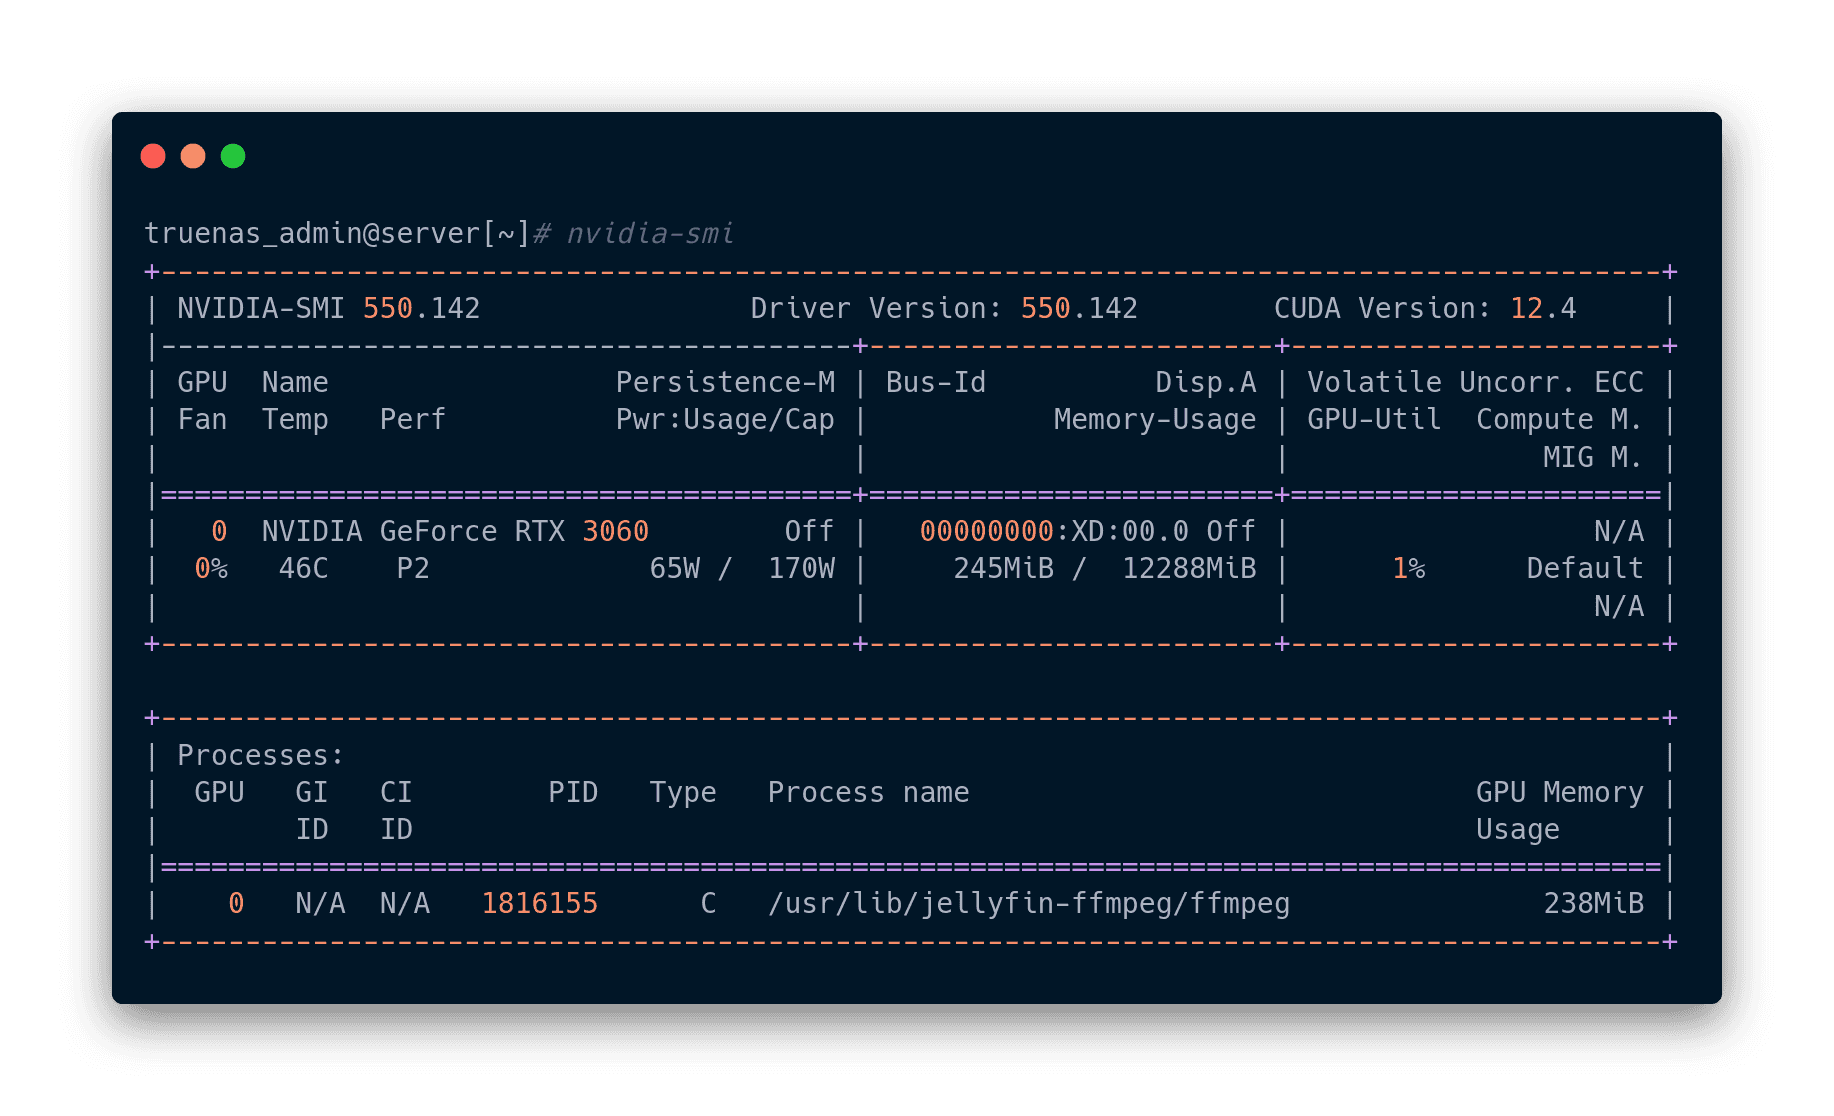
This will not only tell you the power and memory usage of your GPU, but will also break it down by process.
Conclusion
Today, we’ve documented how I was able to setup my GPU on HexOS. I had to fallback to the TrueNAS UI. I also had issues with compatibility between older GPUs and more modern Motherboards. However, after retrieving a RTX 3060, and resolving a bug in TrueNAS, I was able to get GPU passthrough working!
Although it may take some tuning, the GPU should provide long term benefits for both Immich and Jellyfin.