I’ve always felt myself to be a handy person. However, after my girlfriend’s mother ran into an issue with her VCR and TV combo unit, my skills would finally be put to the test.
The Problem
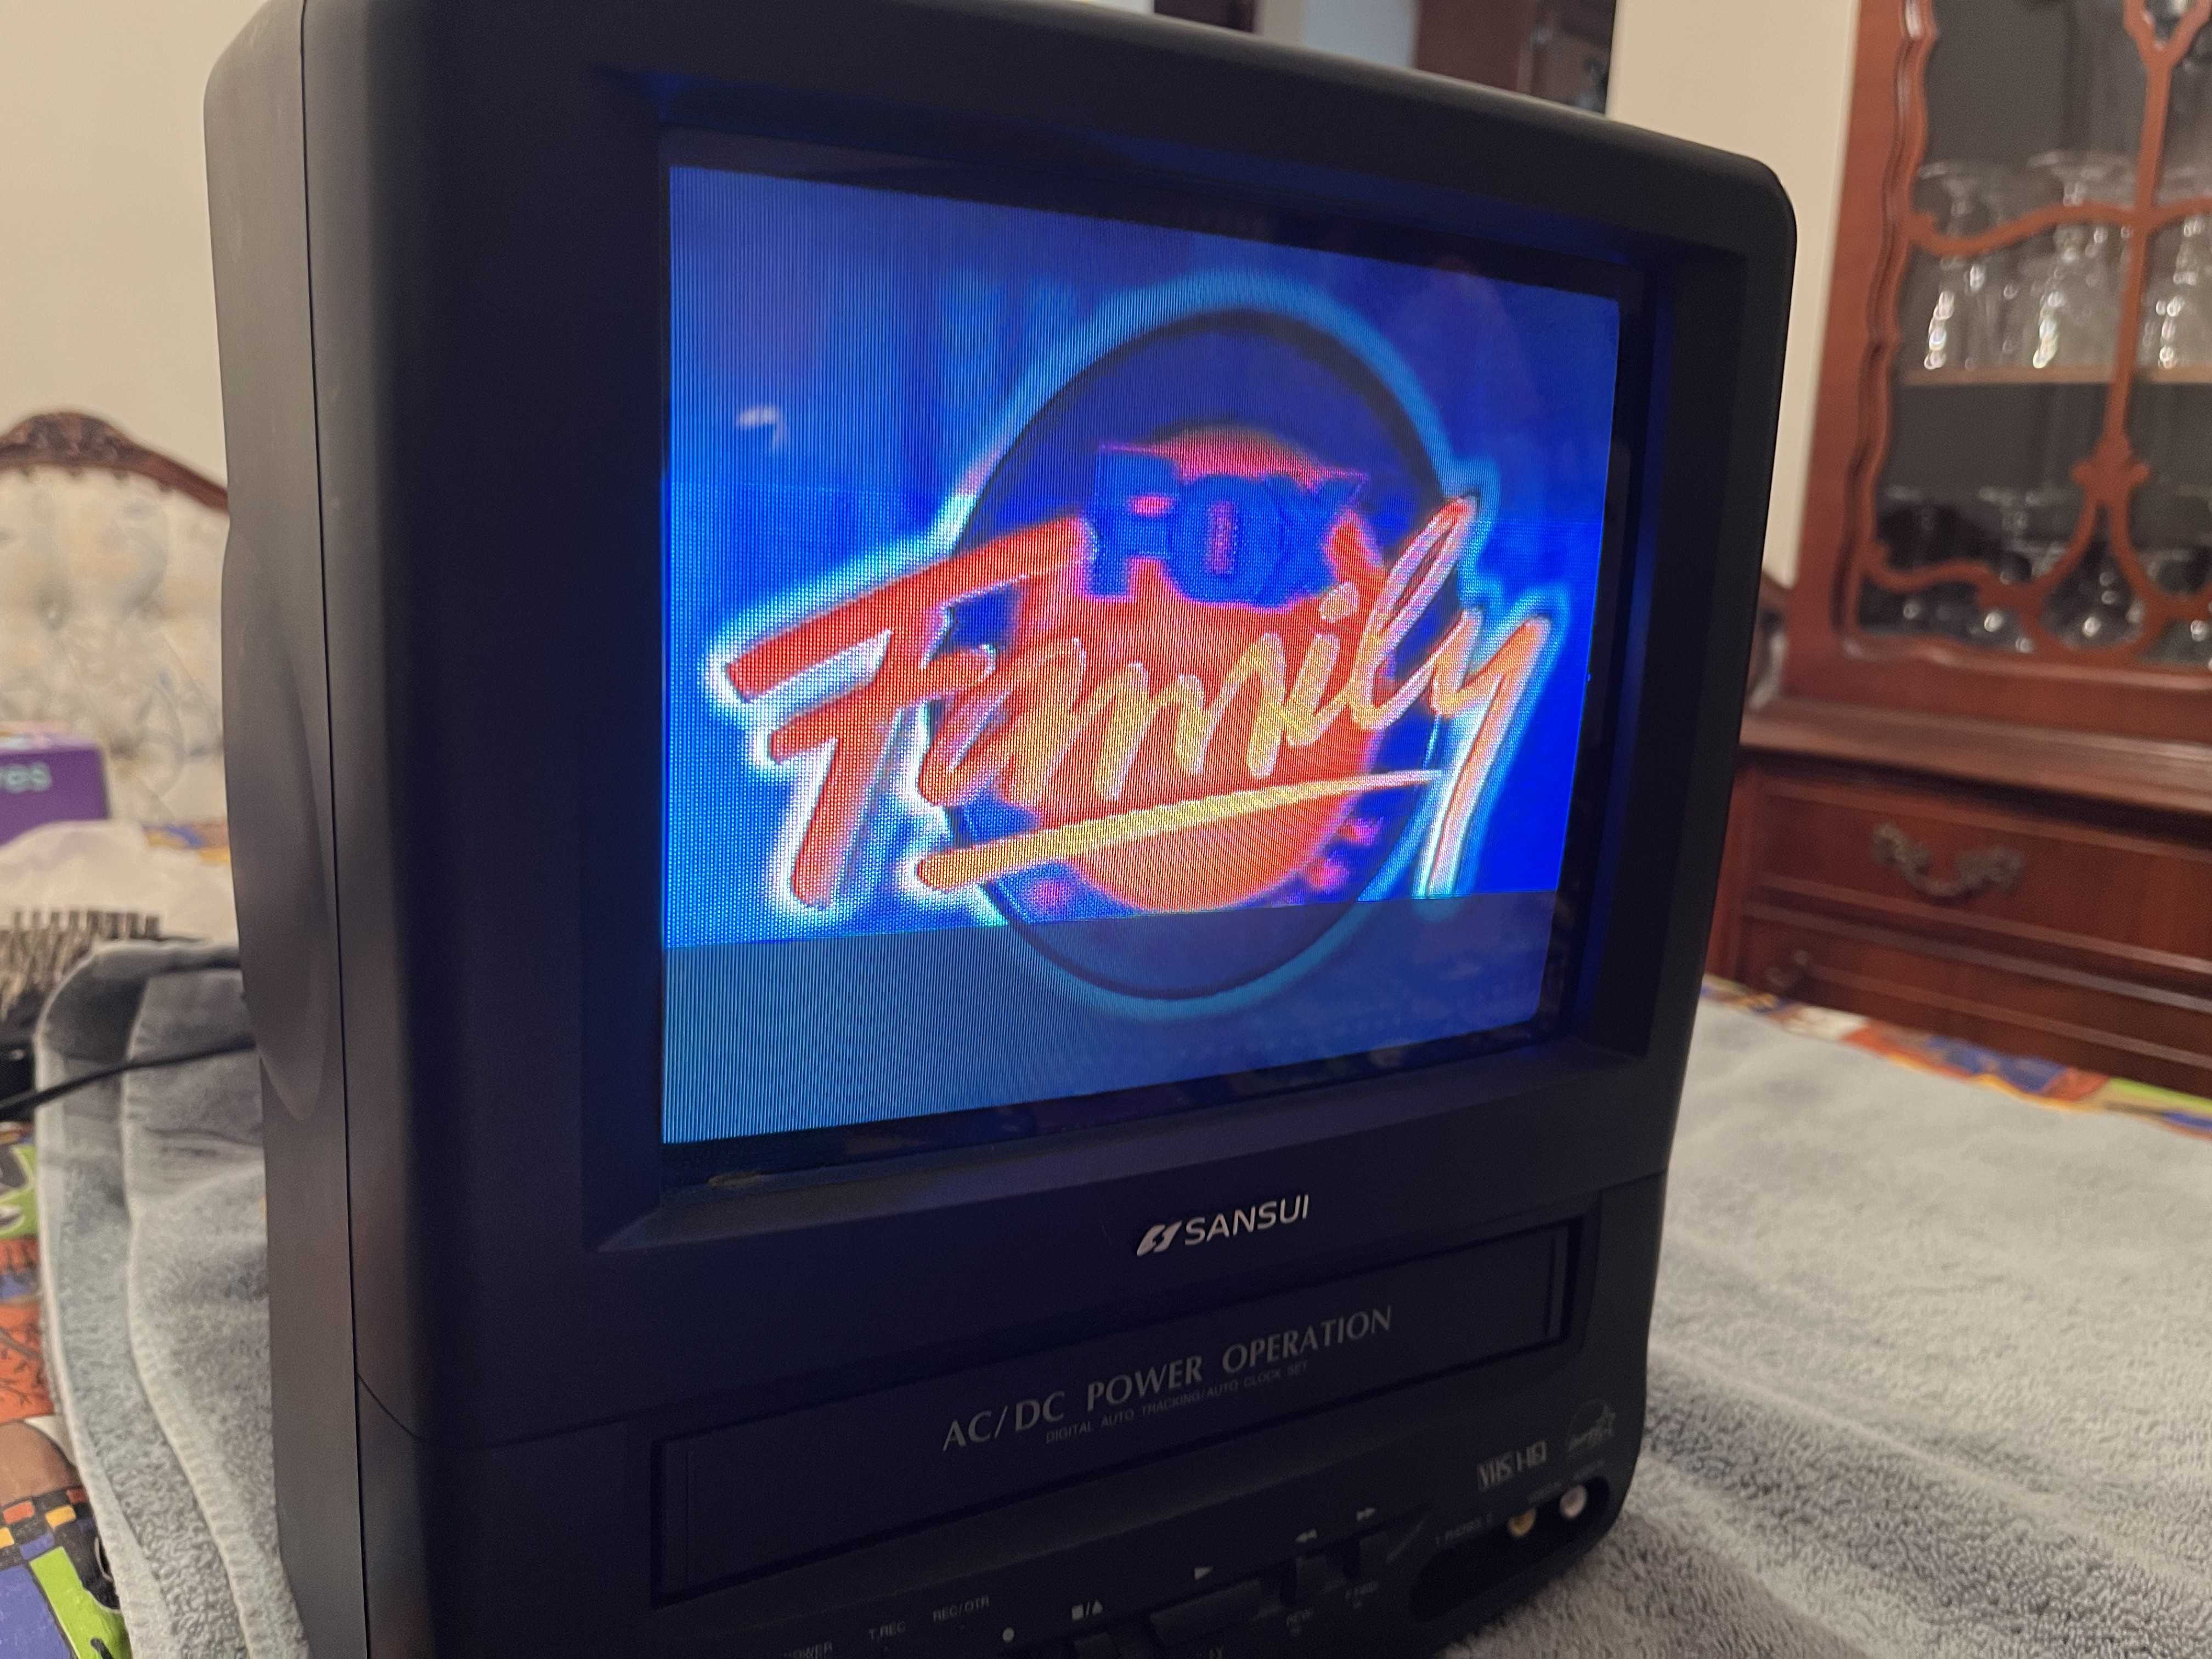
After owning her Sansui COM0961B 9” CRT television for almost twenty five years, it finally broke. While the audio was working fine, the video was completely unusable. The screen only displayed static.
If this wasn’t fixed, the whole thing would be thrown away. Could I save the TV from the landfill?
The Theory
Sourced from goughlui.com
After watching and reading a few guides, I learned more about how a VCR unit works. Lucky for me, most VCRs appear to use the same basic layout. Any guide for fixing one VCR, ought to work for any unit. Because we could hear the audio, the most likely explanation is that the drum assembly for video reading was either dirty or broken.
Sourced from goughlui.com
Above, we can see the drum assembly used for reading video from the cassette. The distinctive tilt makes it very easy to identify.
Back to the TV in front of me, we can see the same tilted drum. Peering through the front slot, I easily spotted the same assembly.
The Game Plan
Before I started, I assembled all the tools I would need.
- IFIXIT Pro Tech Toolkit
- Anti Static Mat
- Flashlight
- Rubbing alcohol
- Pen and scrap paper
I was also asked to use a towel whenever I placed the TV screen face down on the table.
Because it was hard to find guides online for this particular model, I would need to go in blind. However, because most VCRs are built identically, it should be possible to move forward with confidence!
Disassembly
The first step, of course, is to remove all the exterior screws. The backside of the TV appears to be attached with four corner screws to the front of the TV and seven screws to the interior PCB assembly.
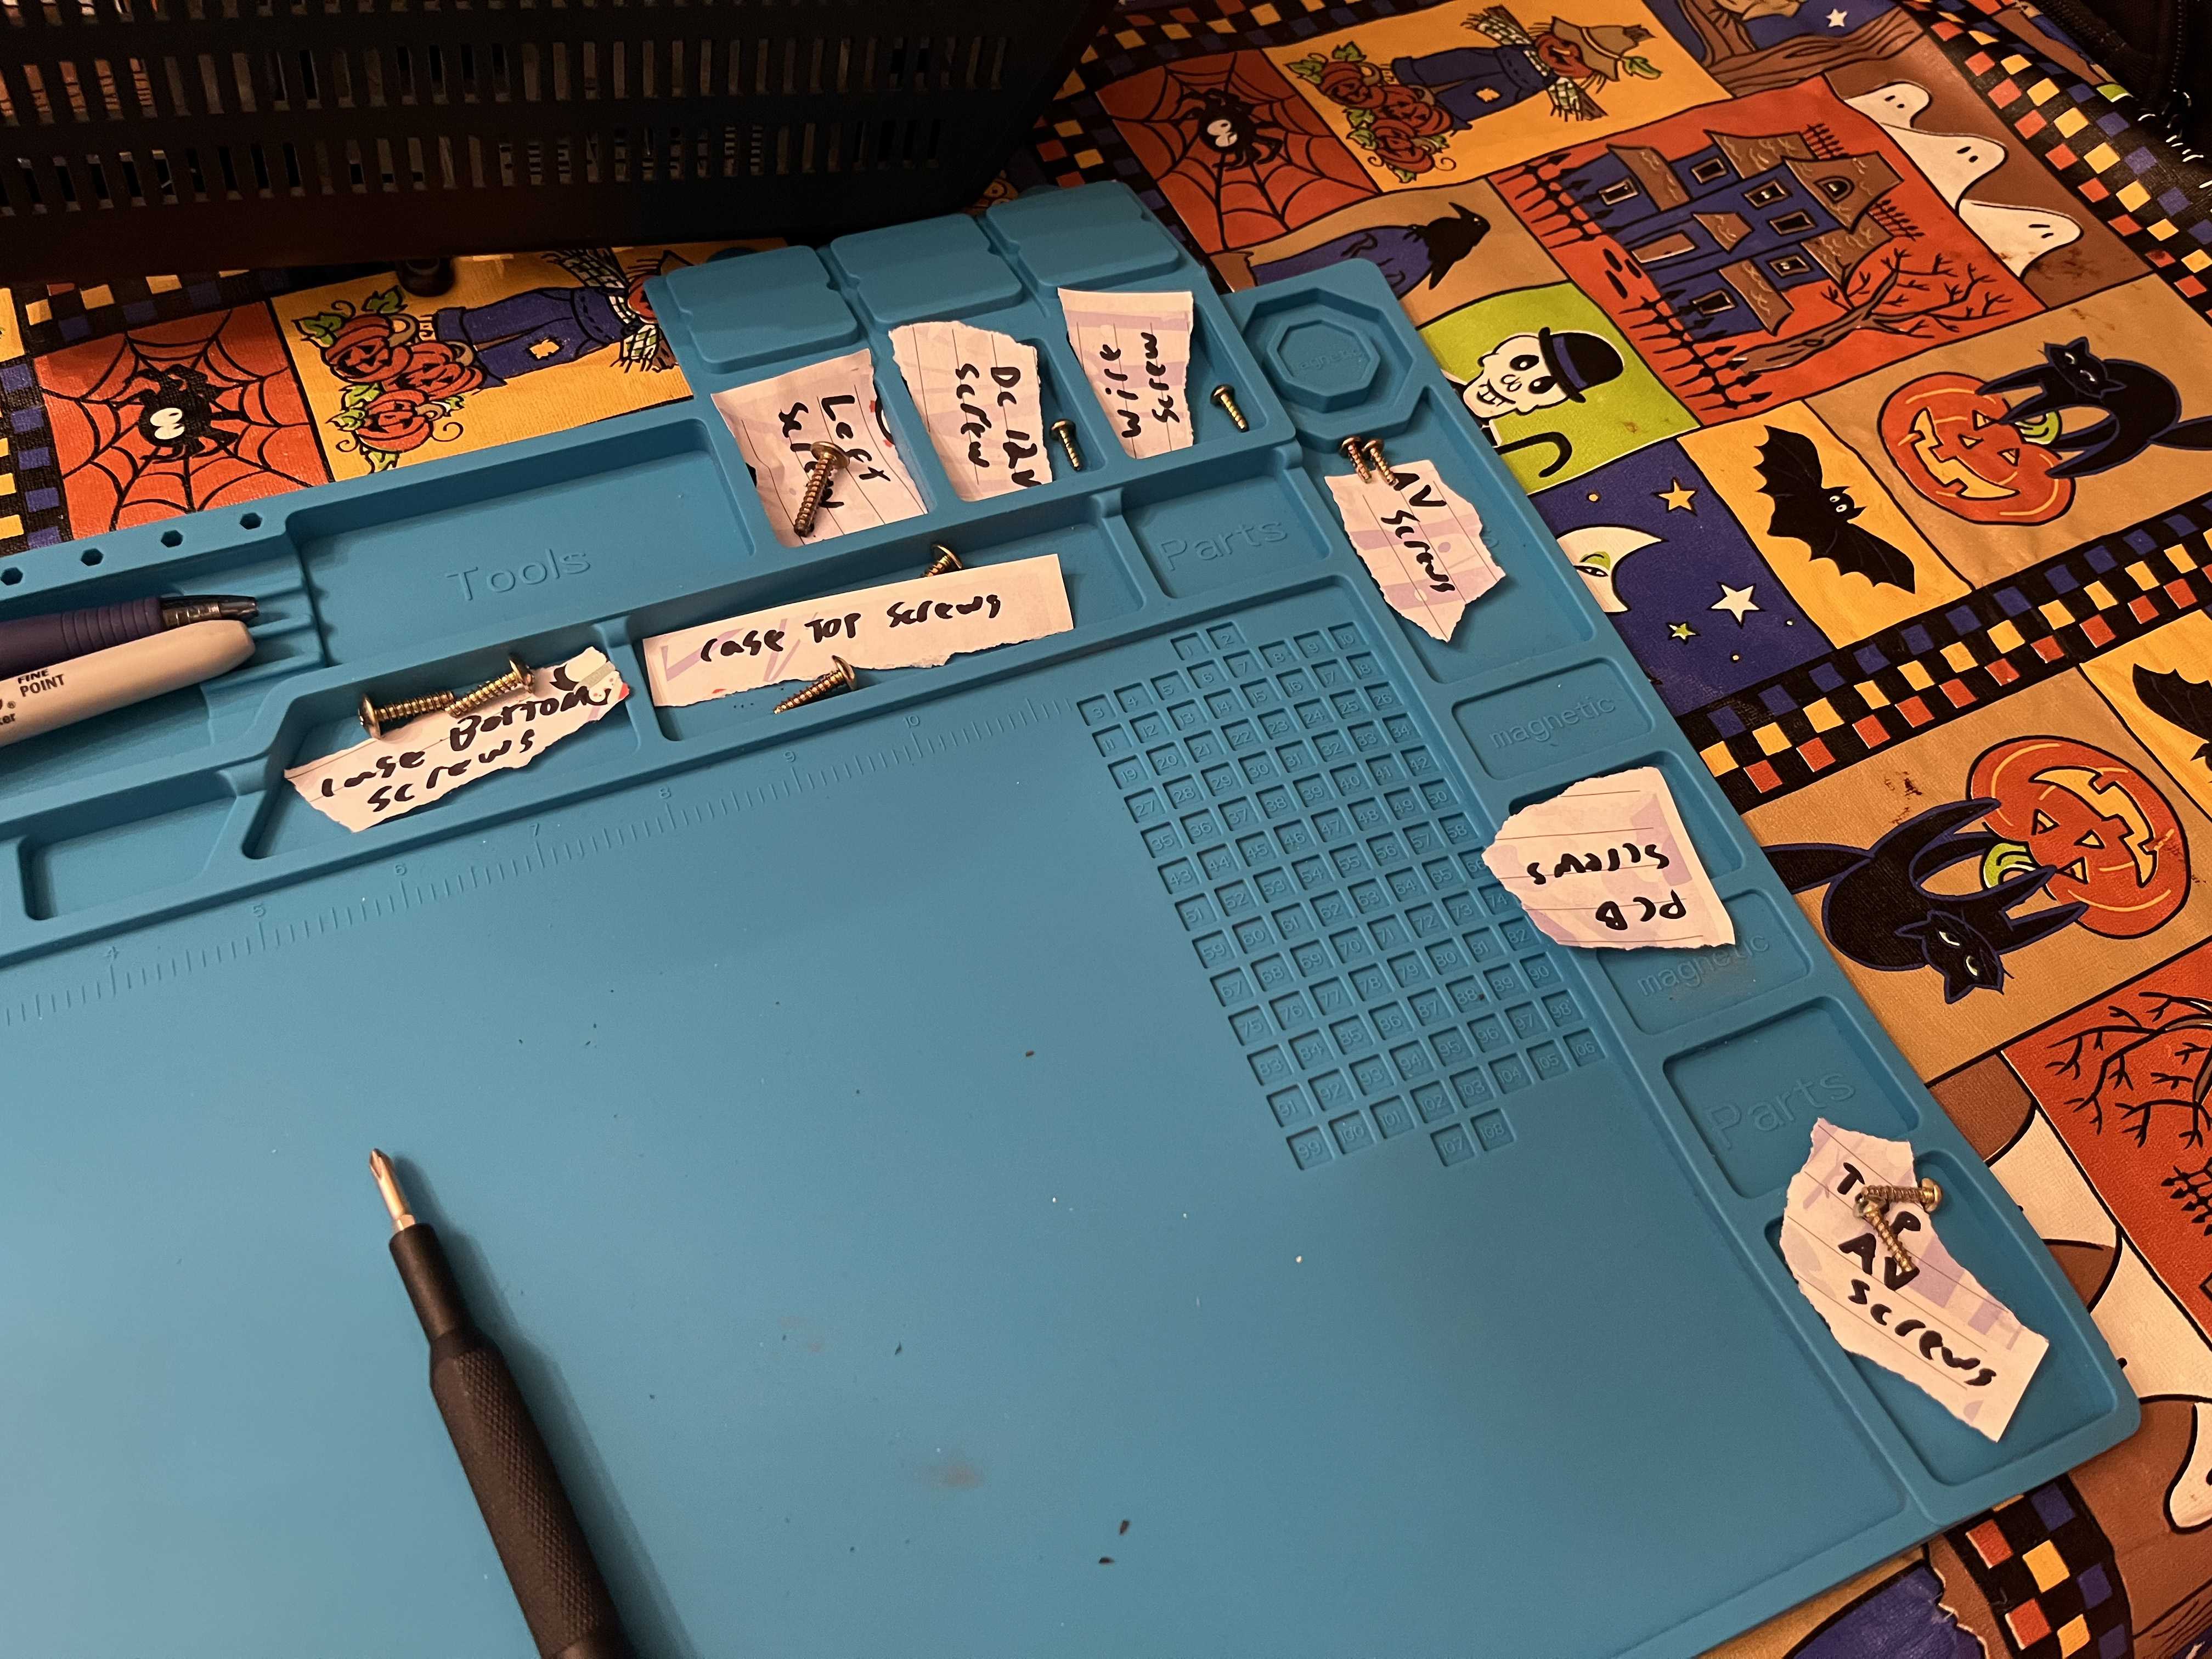
For safety’s sake, I like to label all the screws removed from the unit so as to not lose track. I would recommend you do the same.
Scouting
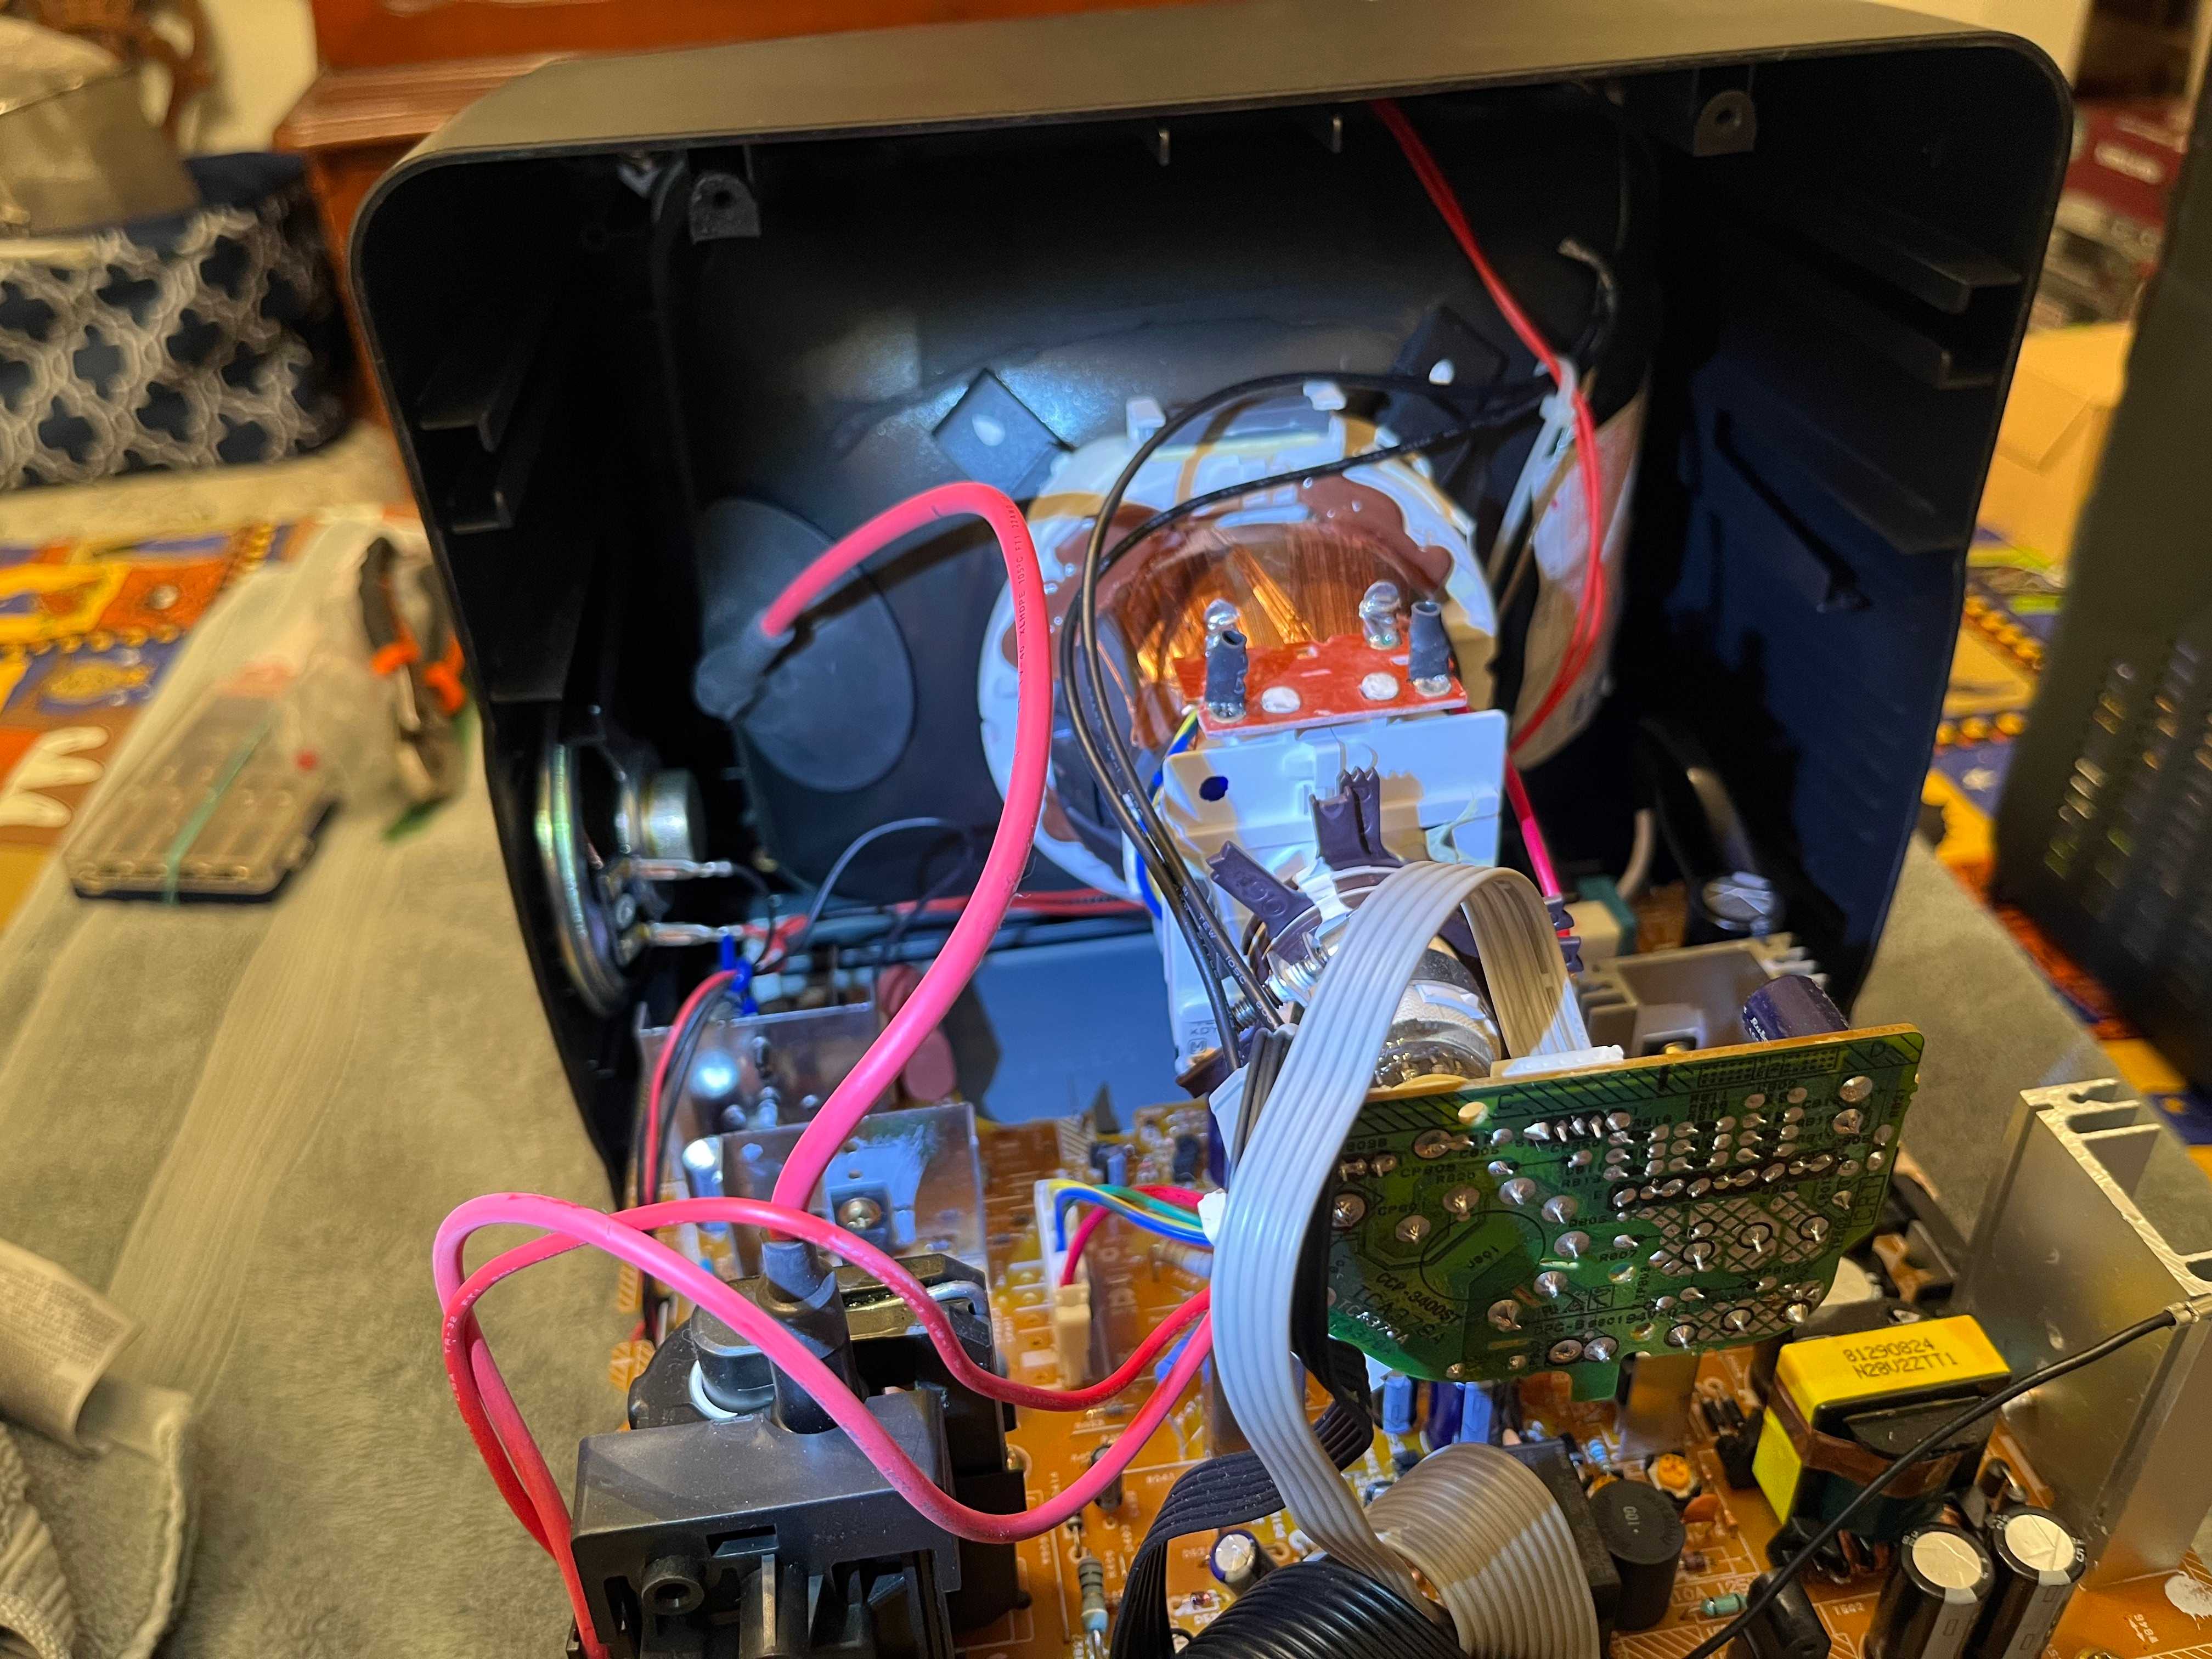
Inside the unit, there are two main PCBs which are attached together in a sandwich like structure. While the upper half (which is easier to access) appears to control the CRT display, the lower (more hidden) PCB appears to control the VCR functionality. Between the many cables, screws, and reinforcements, pulling the two PCBs apart to access the lower board would be impracticable.
The Idea
If the motor which controls the video drum were broken, I would be forced to disassemble the complicated mess of wires and screws. However, if the issue laid primarily in a dirty reader, then perhaps I could resolve the issue with a bit of open heart surgery.
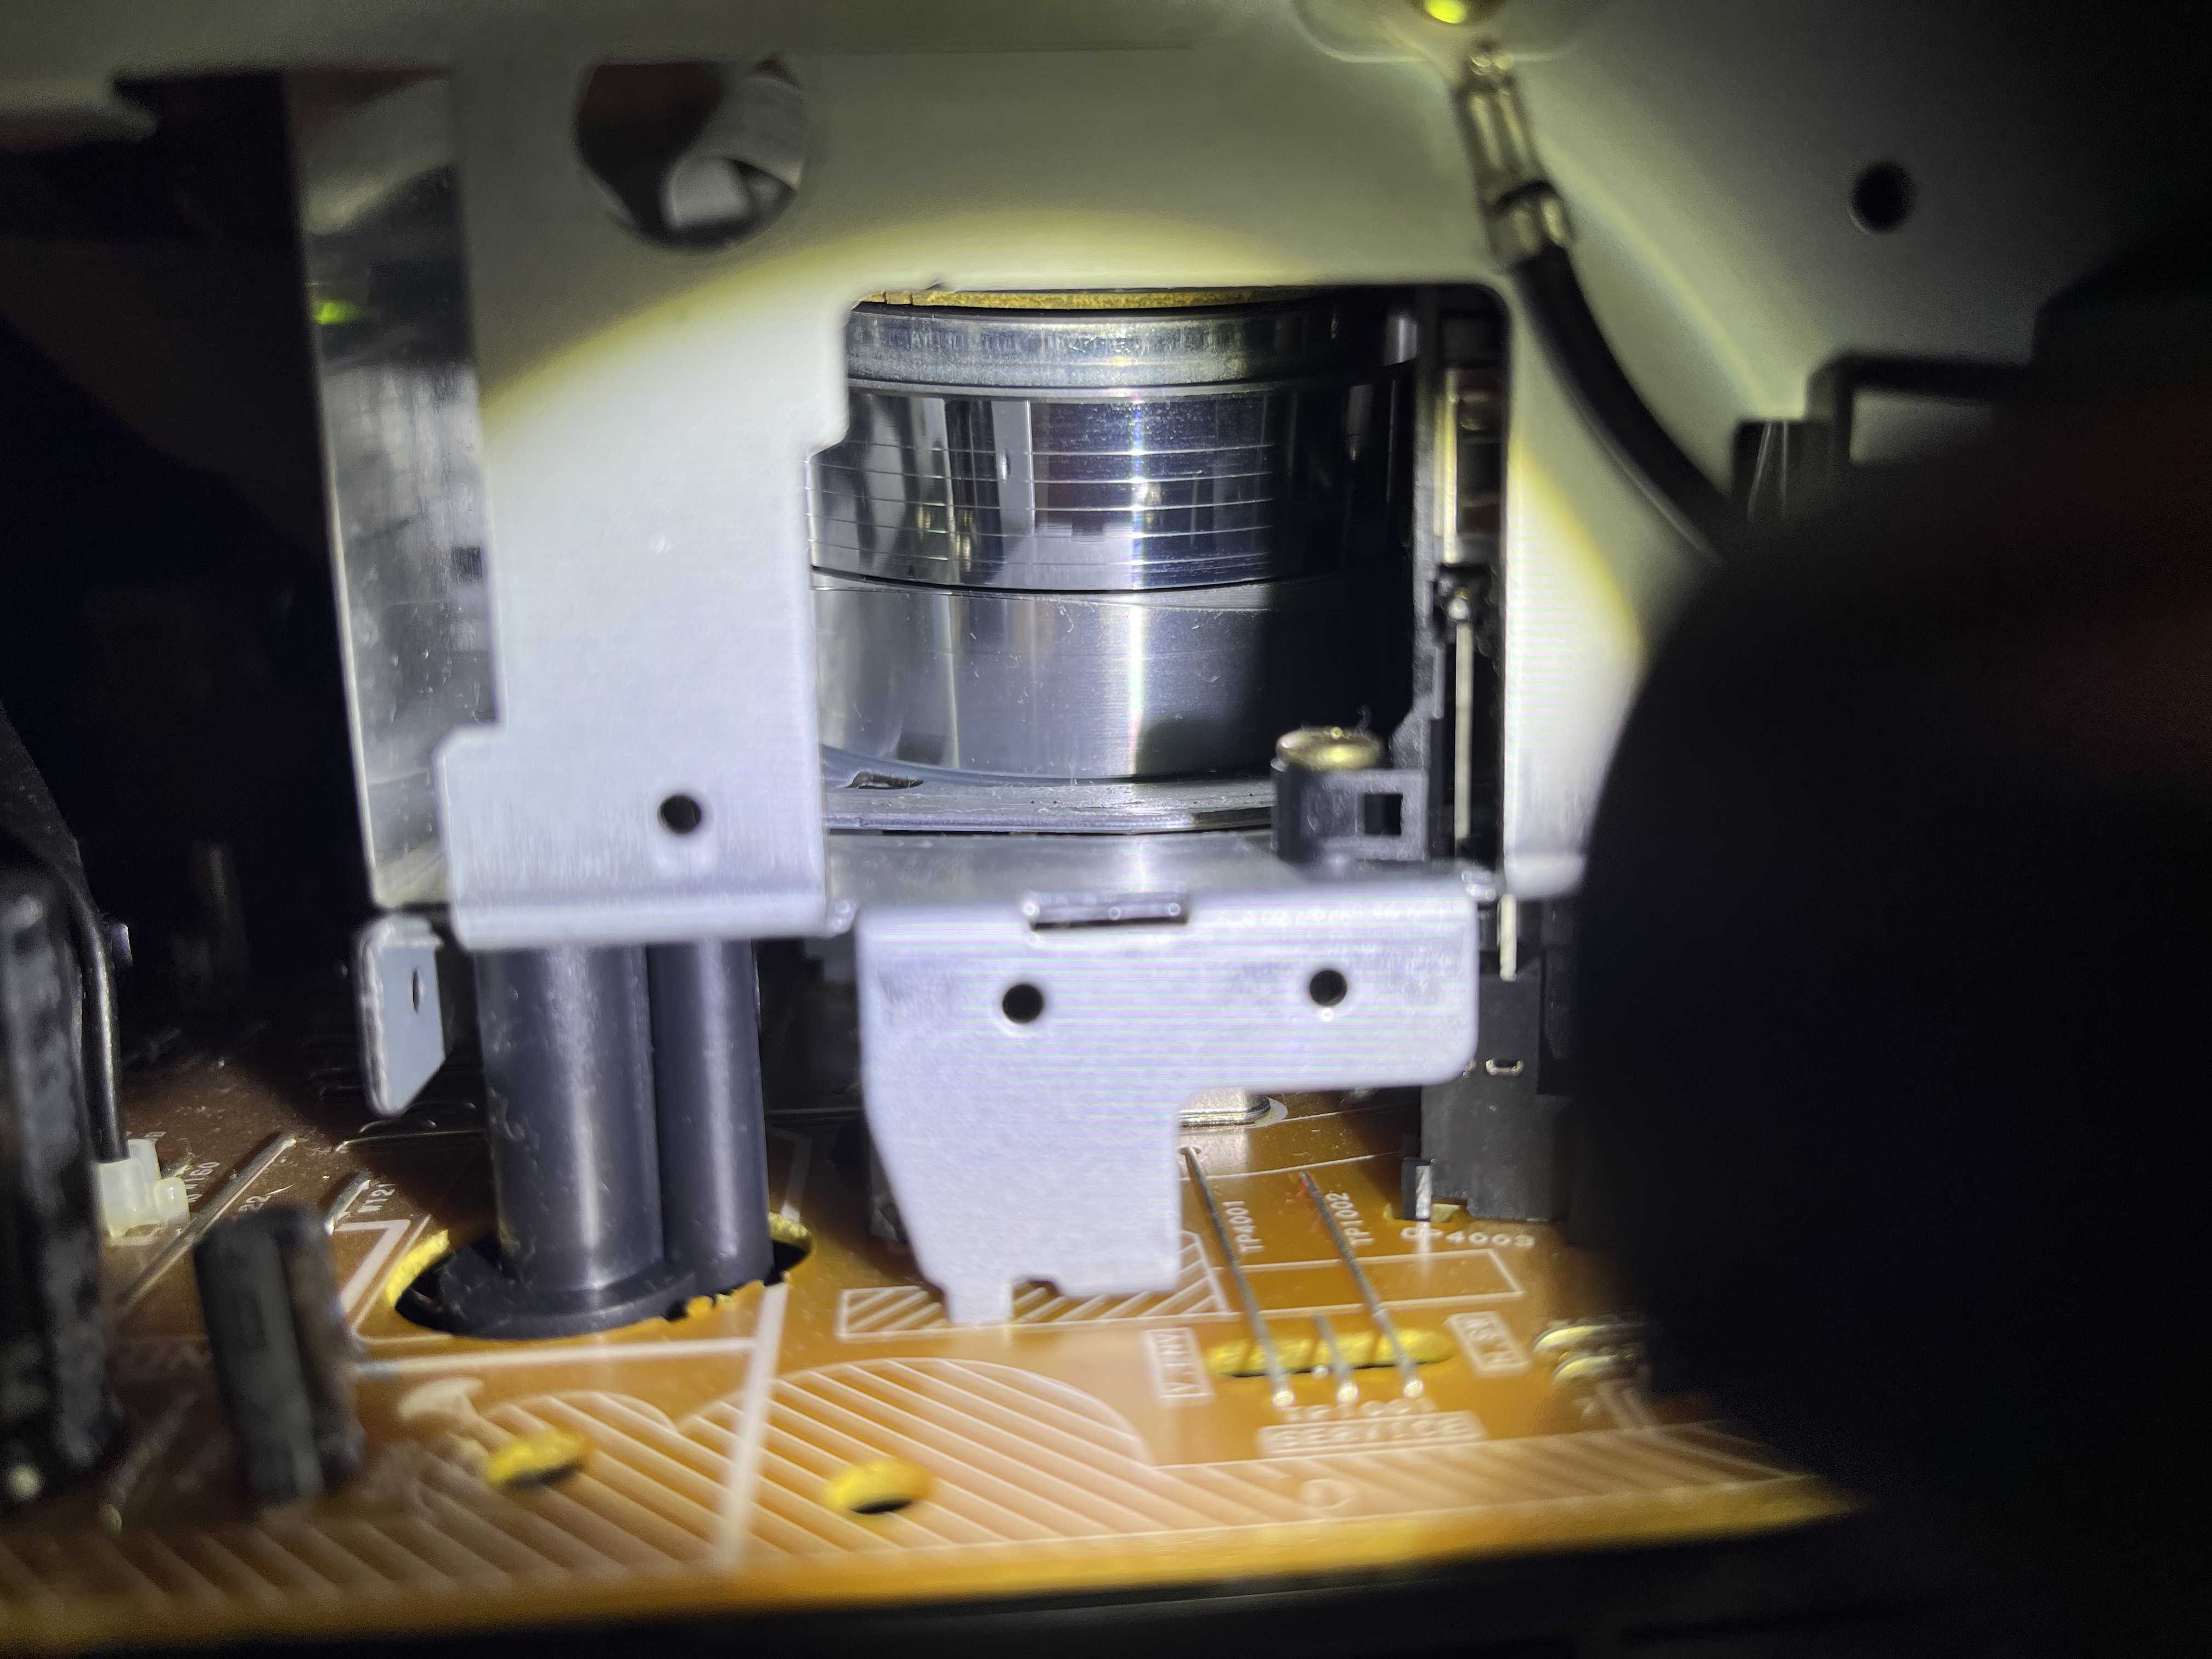
From the side of the unit, a small window allows access to the video drum. I had just enough room to clean the drum without disassembly! First, I folded a scrap of paper into a small, yet firm, square. I then soaked the paper with rubbing alcohol. Because the paper was folded so tightly, it was hard enough for scrubbing. Additionally, because it was also wet from the alcohol, it would not scratch the surface of the drum and could clean the reading surface.
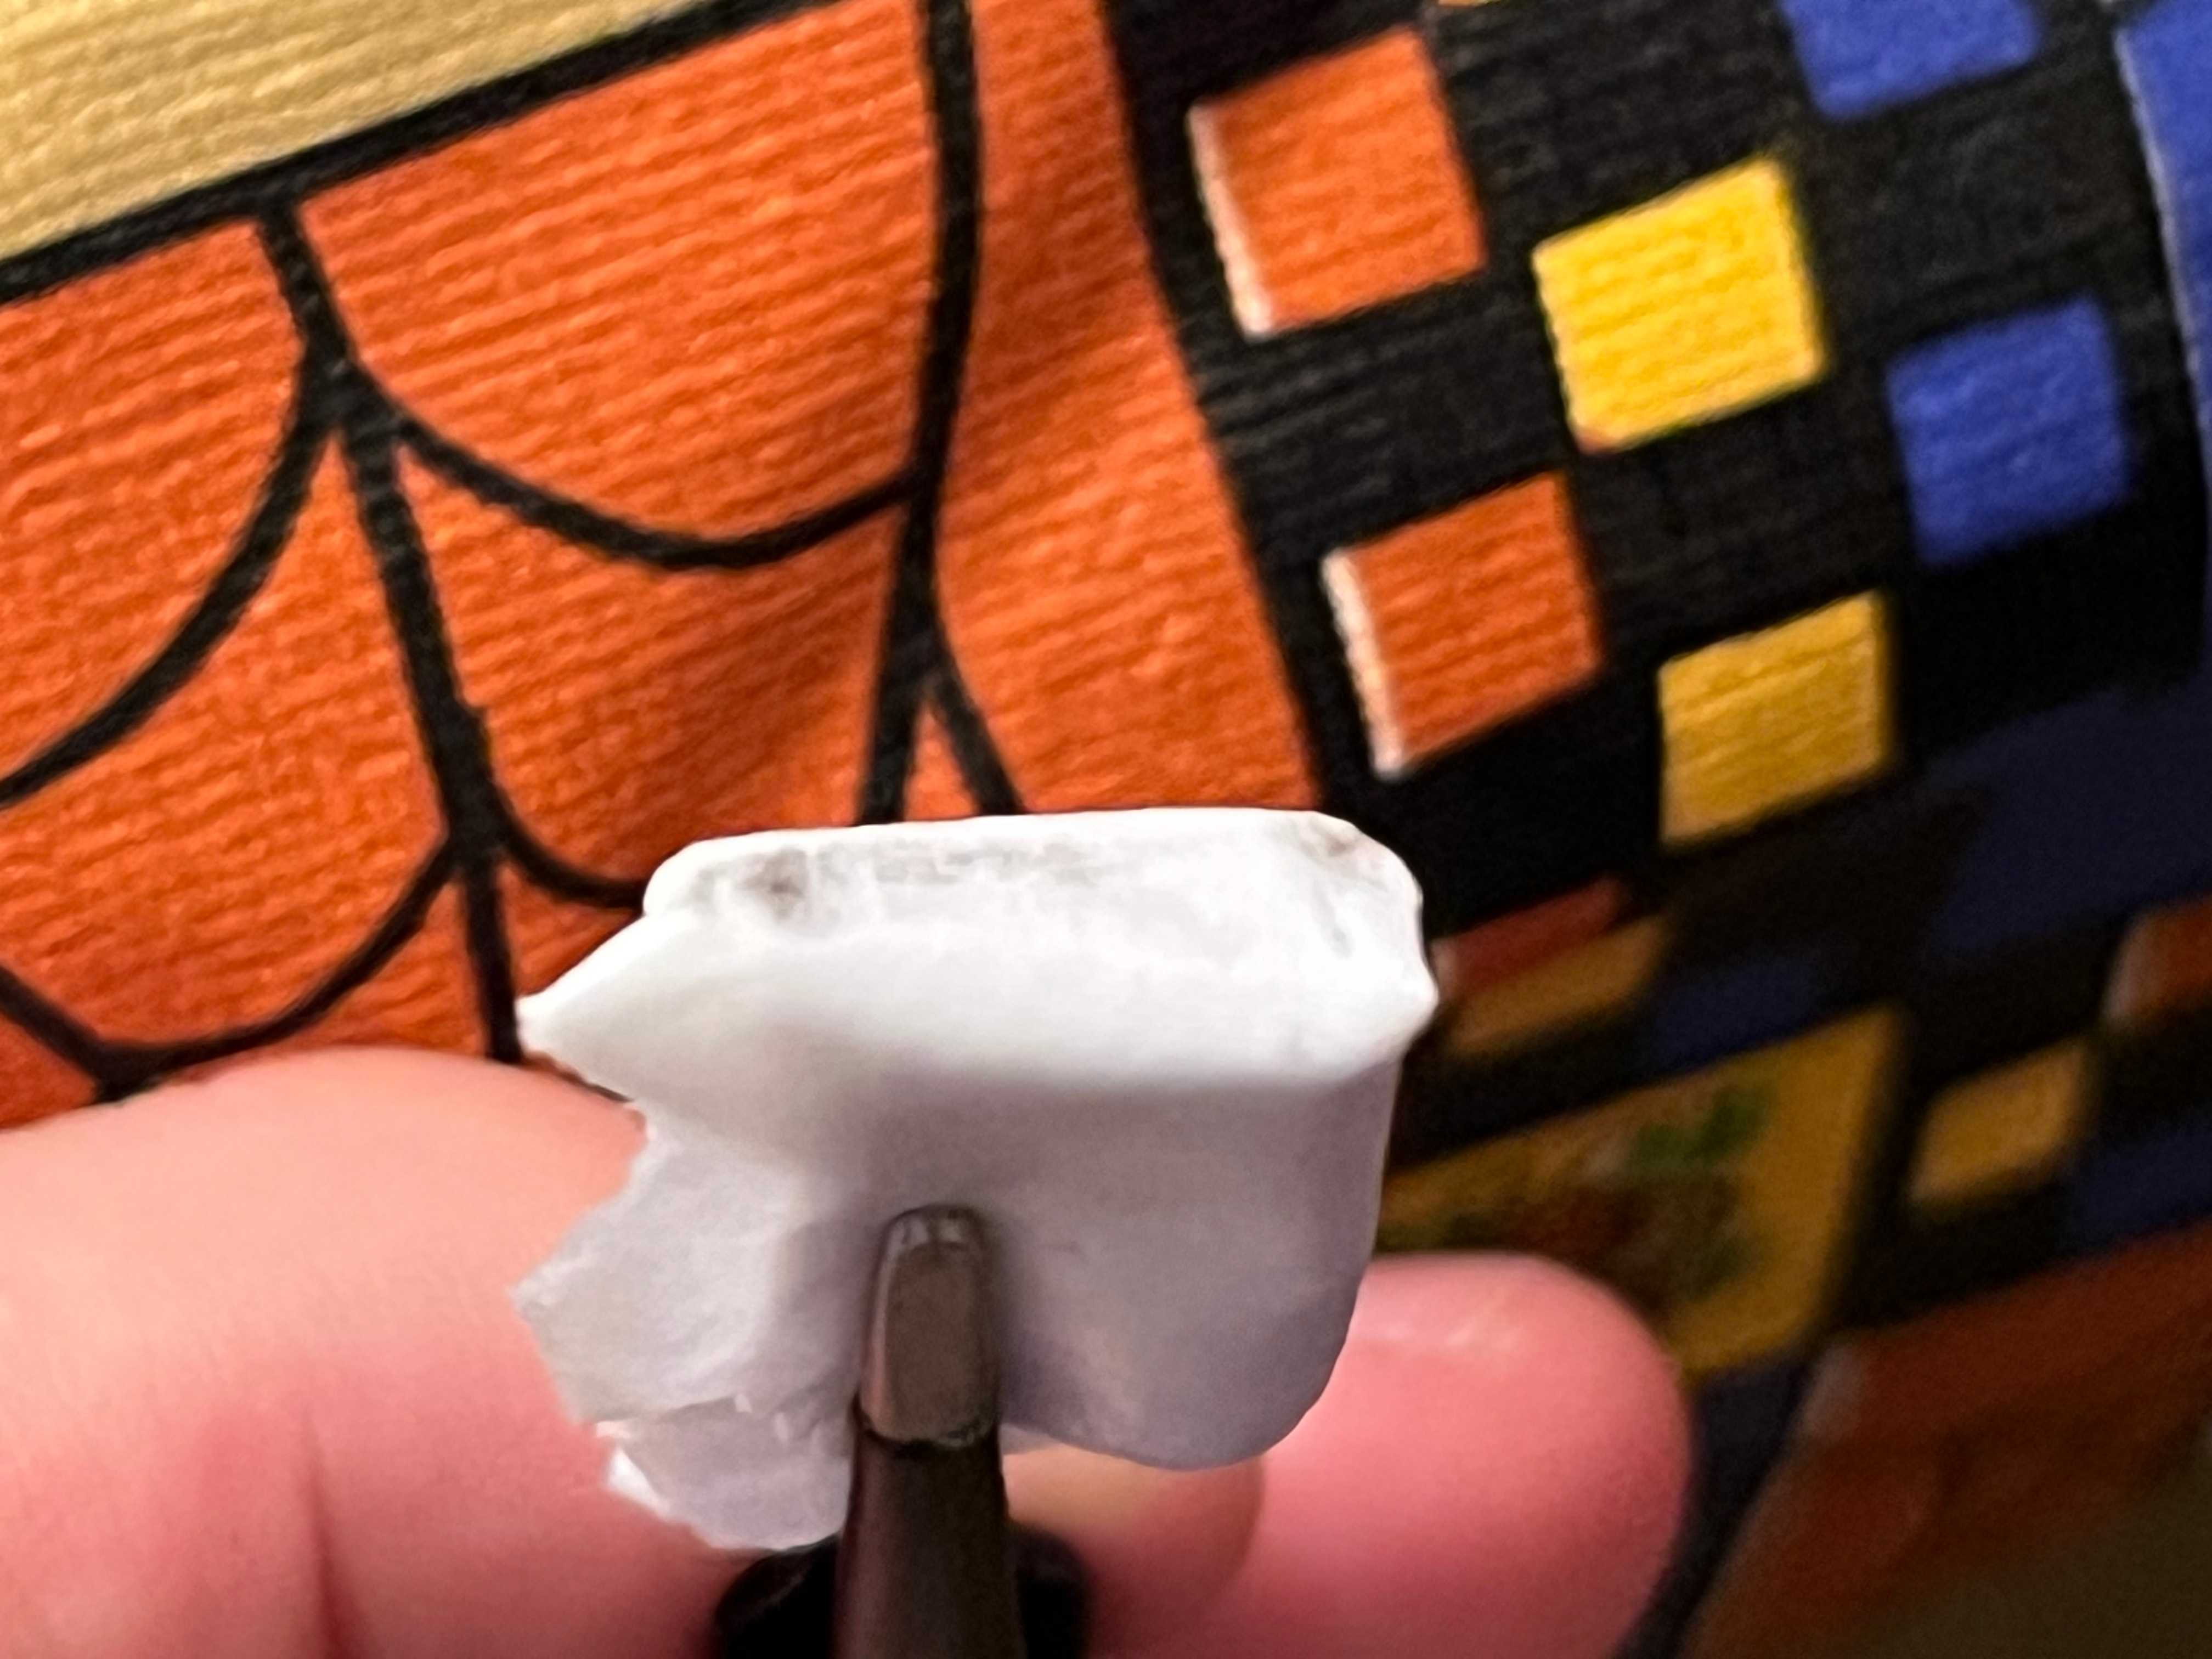
Using the tweezers, I pushed the paper onto the drum. With my other hand, I slowly rotated the drum in place. I had to use a surprisingly high amount of pressure. Above, we can see dirt collected on the paper. I went threw several such pieces in order to completely clean the drum.

All that remained was to test the VCR.
Testing
Putting a cassette into the VCR…
It plays great! I can clearly see the video without any static or interference. The picture is very clean. Other features, such as audio, continue to function as before.
However, I noticed an issue when I tried to eject the VHS tape. The front door flap would not rise out of the way of the ejected VHS tape. I could manually lift the door out of the way, however this is not an ideal solution.
Two steps forward, one step back
Maneuvering the TV around, I could hear something lose inside. After a while, I was able to free the offending piece.
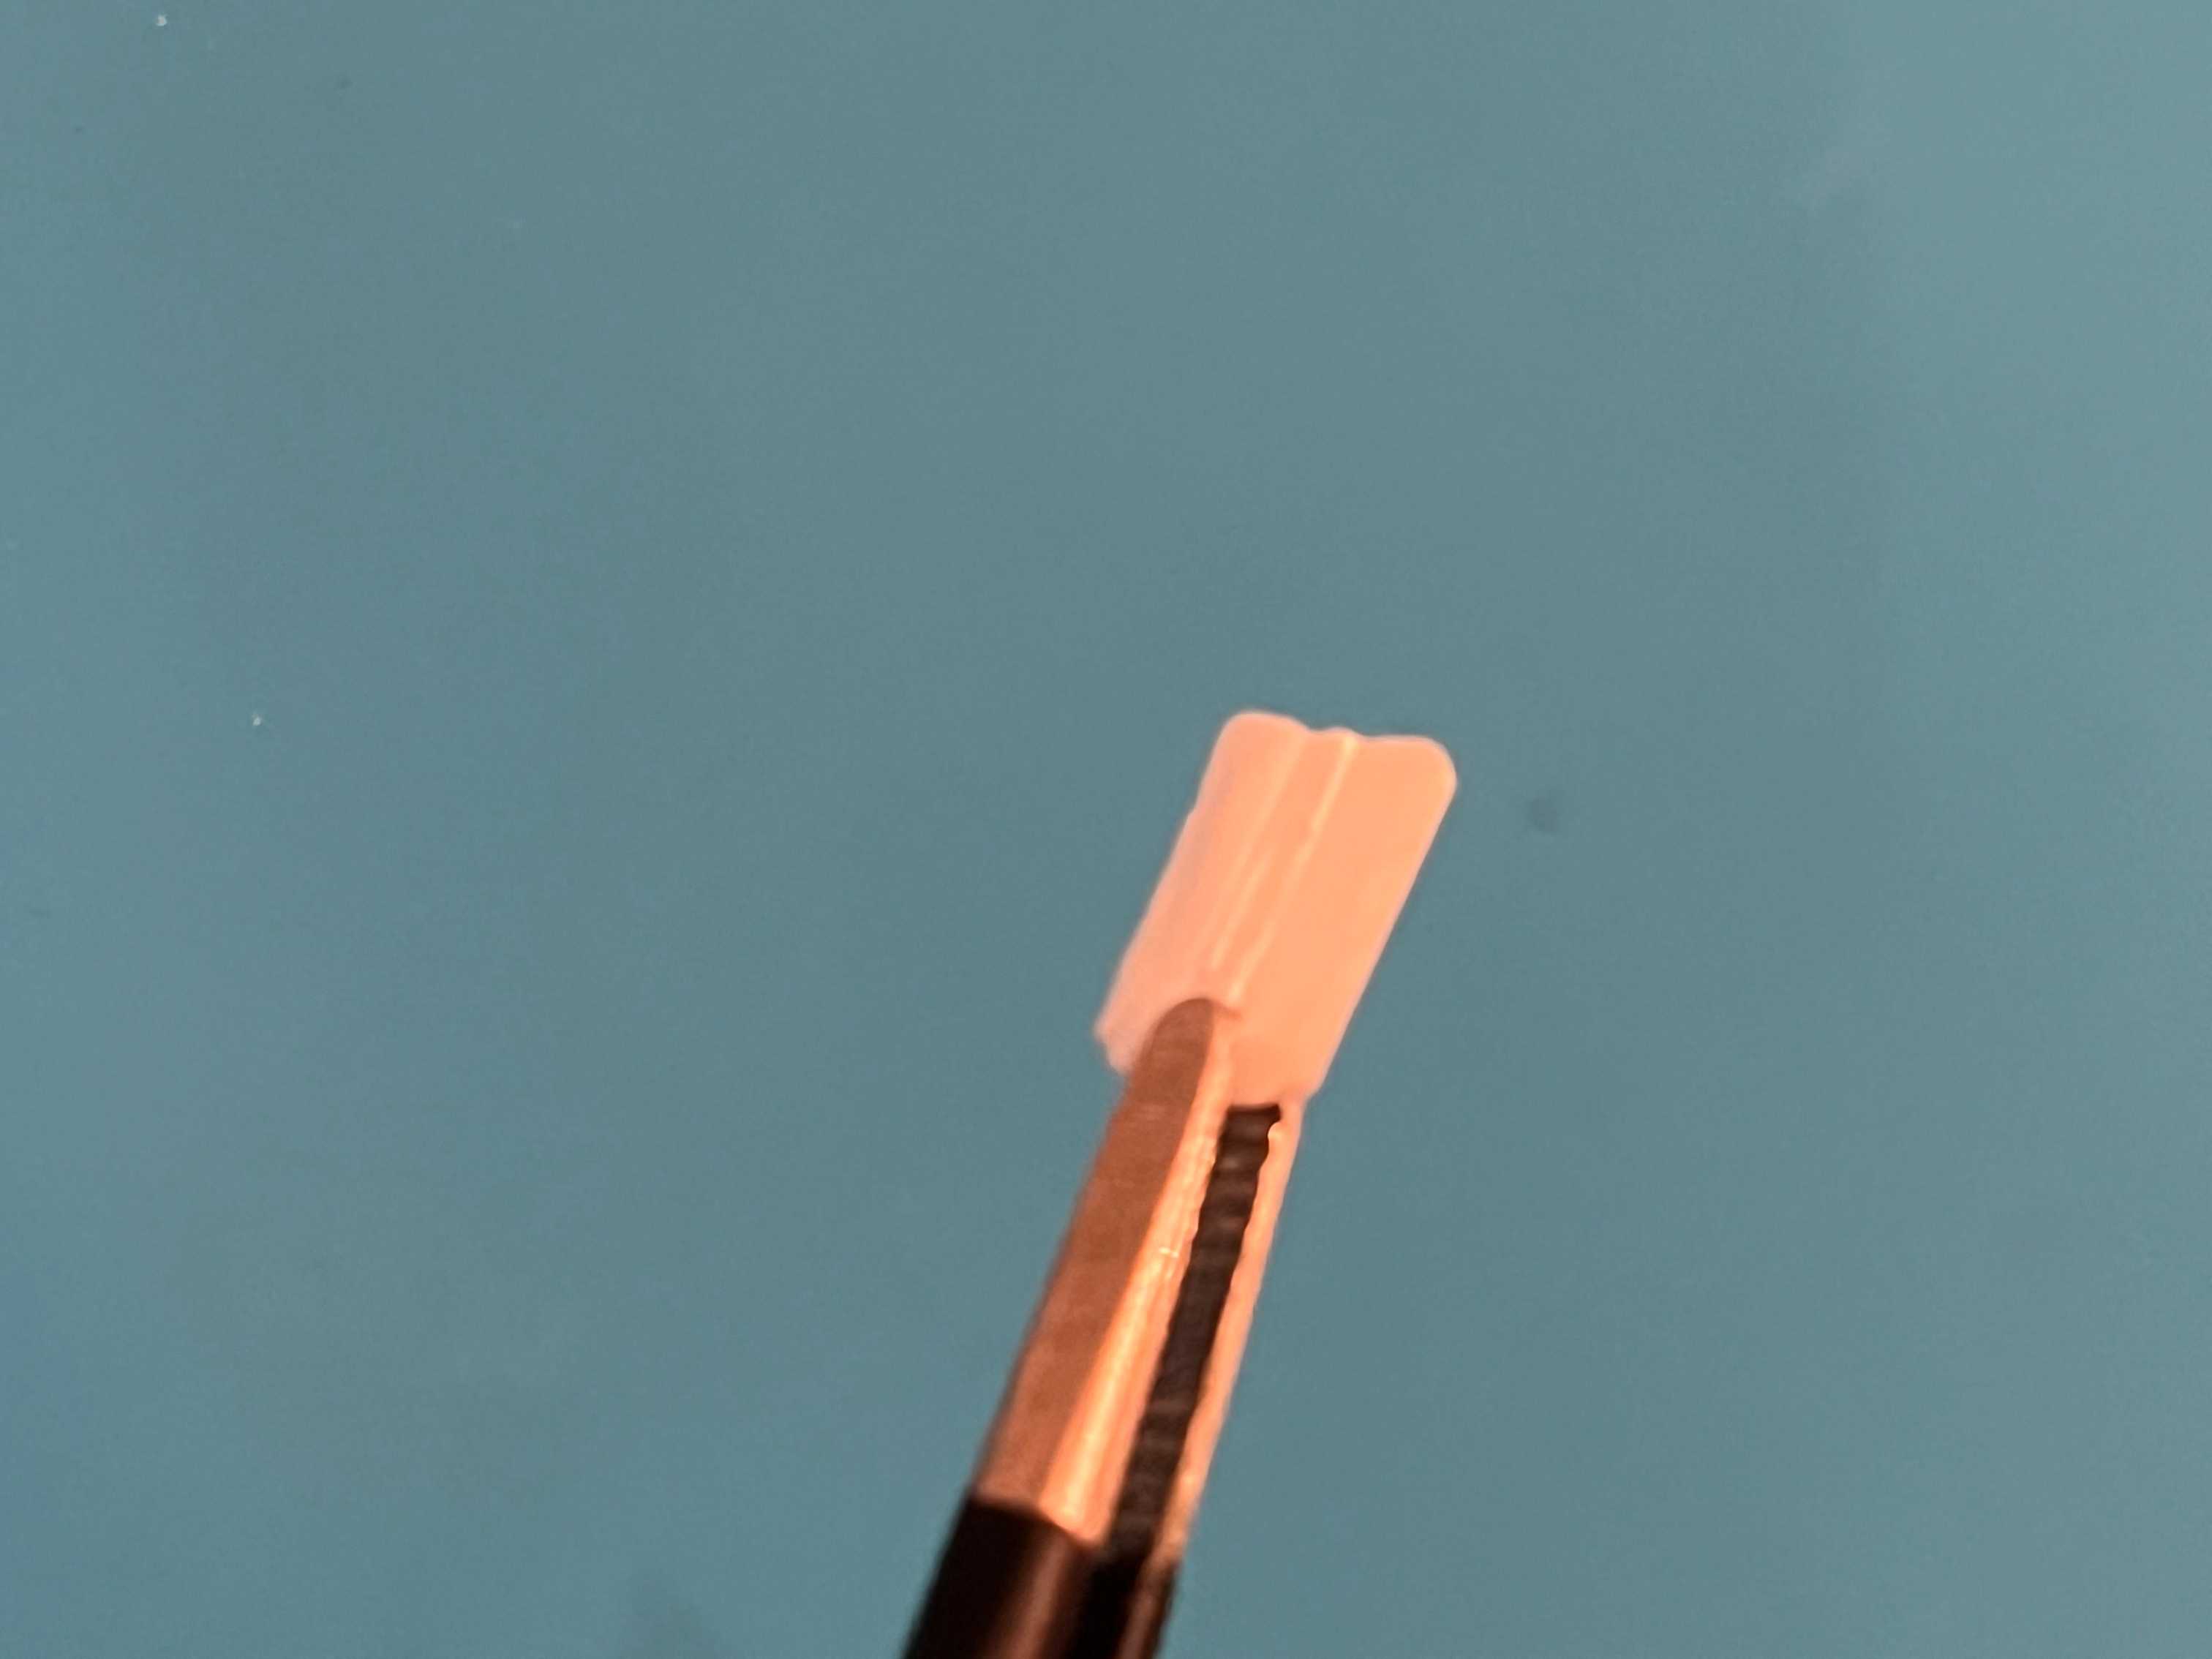
It looks like something had broken off while I was trying to fix the unit. Likely, this piece of plastic catches the door to lift it out of the way of the VHS tape. Although you can manually lift the door, this is not ideal.
Unfortunately, I ran out of time. I will need to follow up later to attempt a more complete repair.
Conclusion
VHS players are not simple devices. Although I could fix the video playback issue, I ended up breaking the door lifting mechanism. In short, I learned a valuable lesson: be more gentle.
Regardless, I did end up saving the TV from the landfill. I count that as a success.