This week, I tackled another satisfying DIY project: reviving an old Weber grill whose igniter had ceased sparking after years of use.
Last week, I detailed how I was able to repair an old VCR. Today, I’d like to run down how I was able to do a much better job repairing an old Genesis Weber grill.
The Problem
After over ten years of ownership, the igniter on this Genesis Weber grill stopped working at some point. The igniter produces a high-voltage pulse across the electrode tip, igniting the propane as it flows through the burner.
Although the propane flows through the grill, the built-in ignition hardware fails to operate. In addition to the inconvenience, it’s also potentially more dangerous to manually light the grill.
Even after replacing the battery and cleaning the battery compartment with isopropyl alcohol, it doesn’t appear to spark correctly. Thus, the only solution is a complete replacement.
Disassembly
Removing the front panel is a fairly easy process.

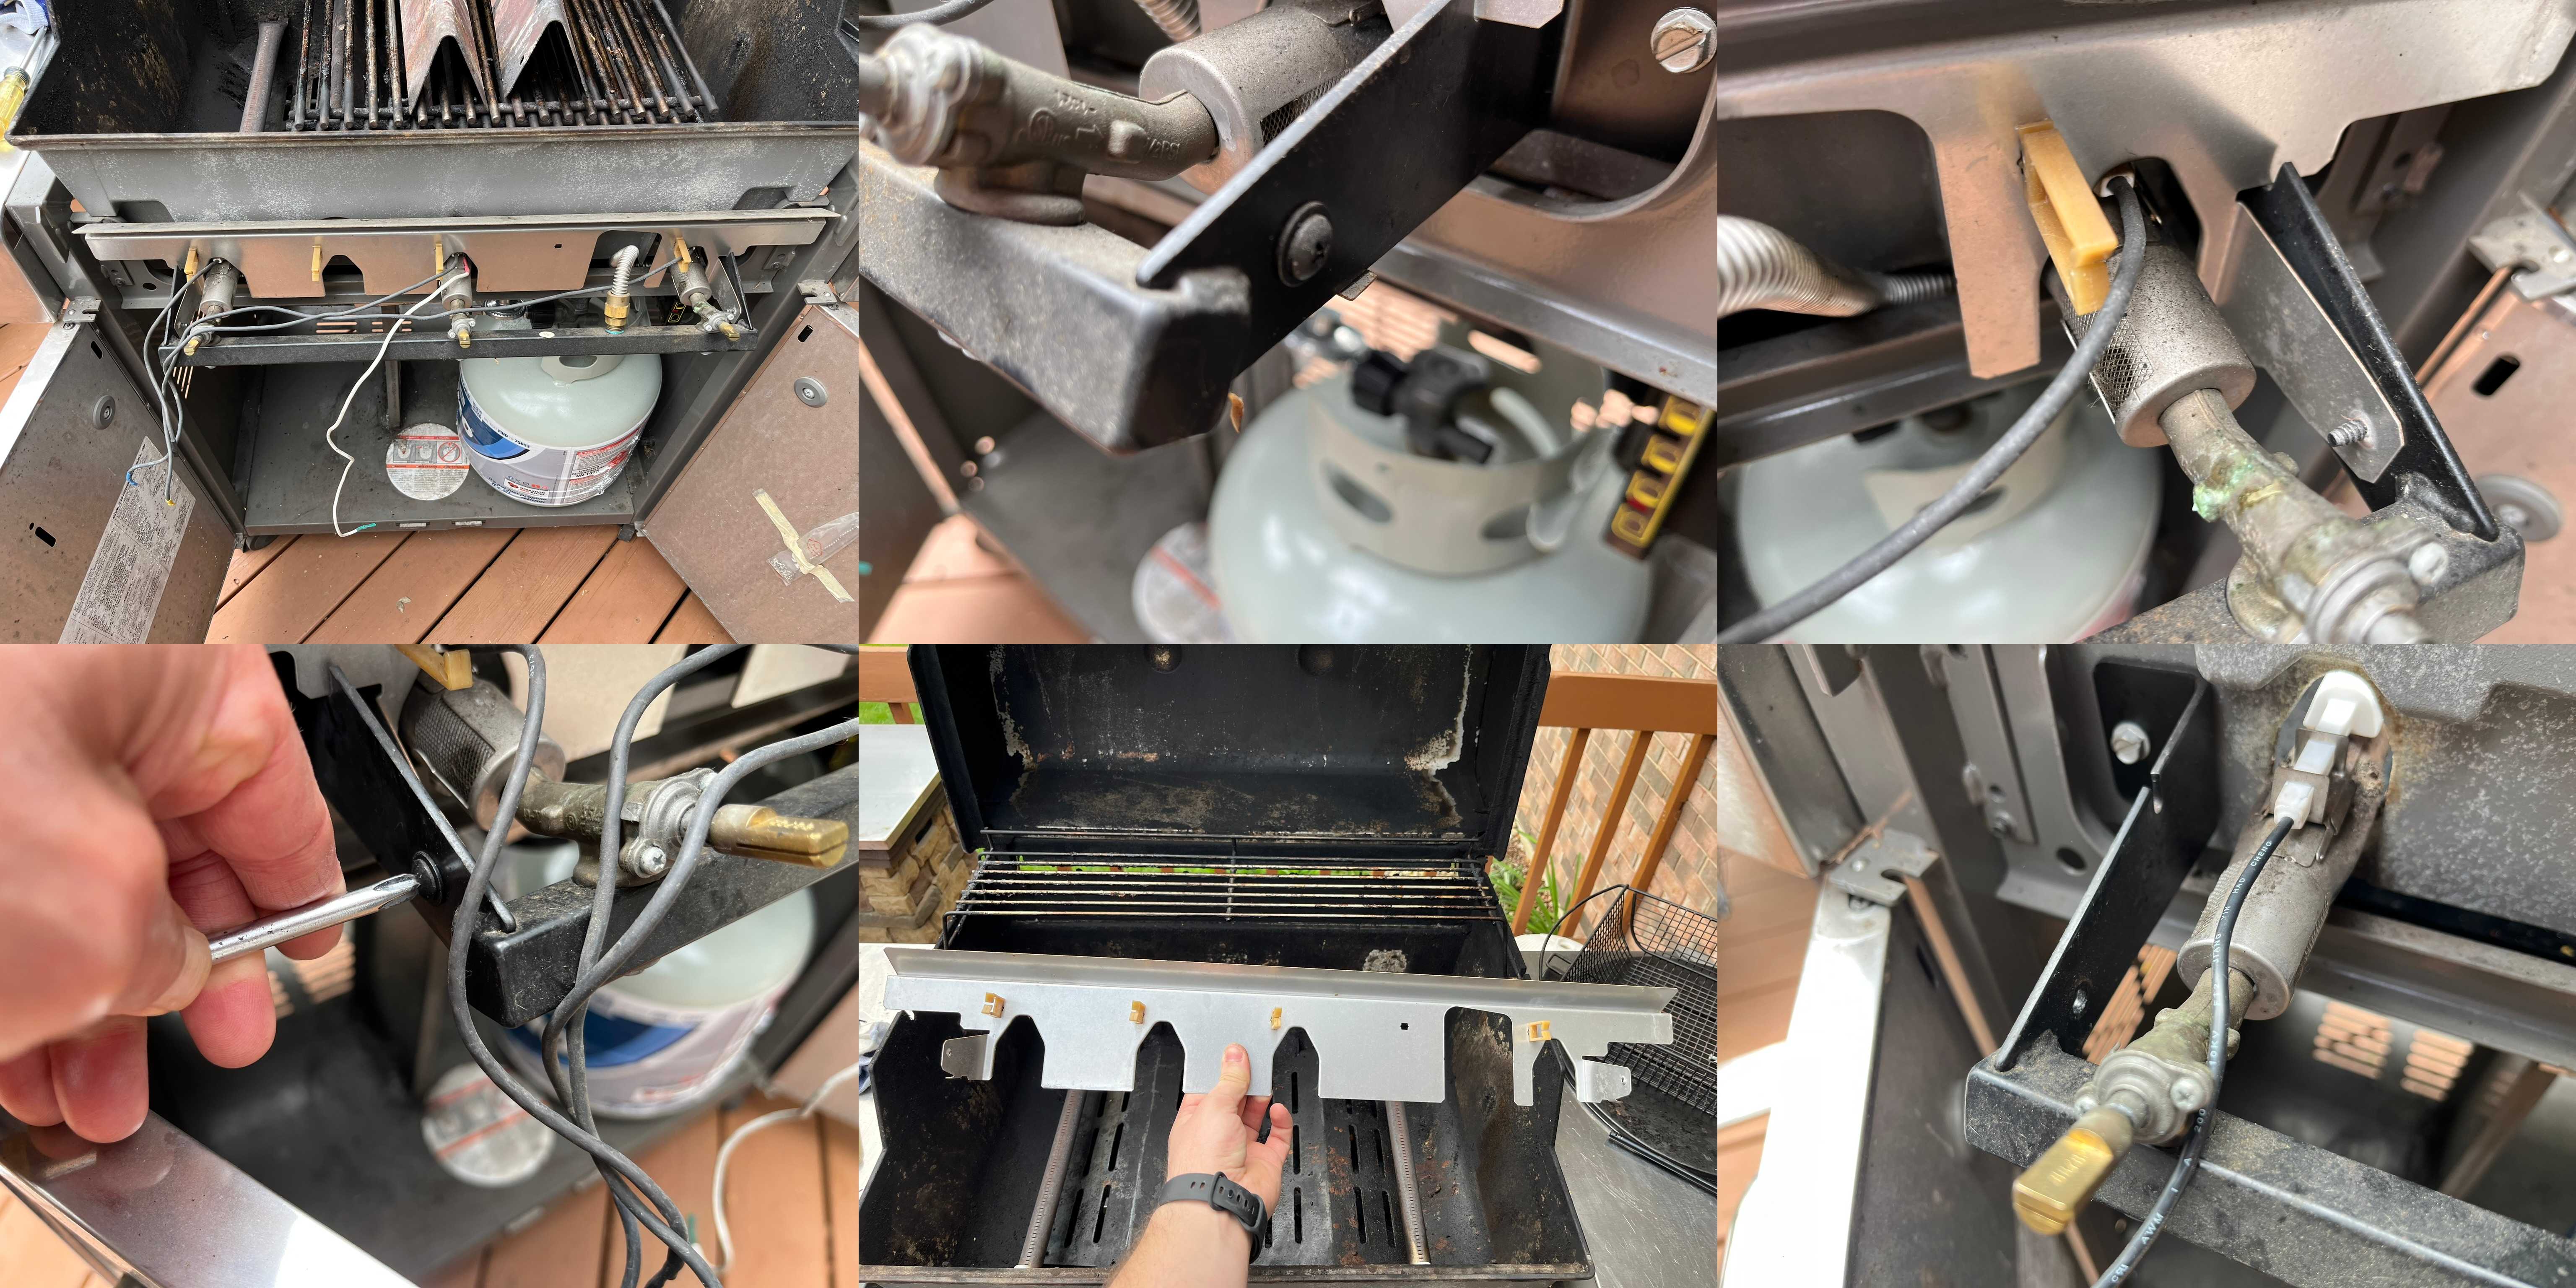
First, the burner control knobs must be removed. With a firm tug, the knobs should separate cleanly.
Below the cover, there are screws that secure the front panel. After removing those screws and the lower weatherproof cover, the internal components of the grill become accessible.
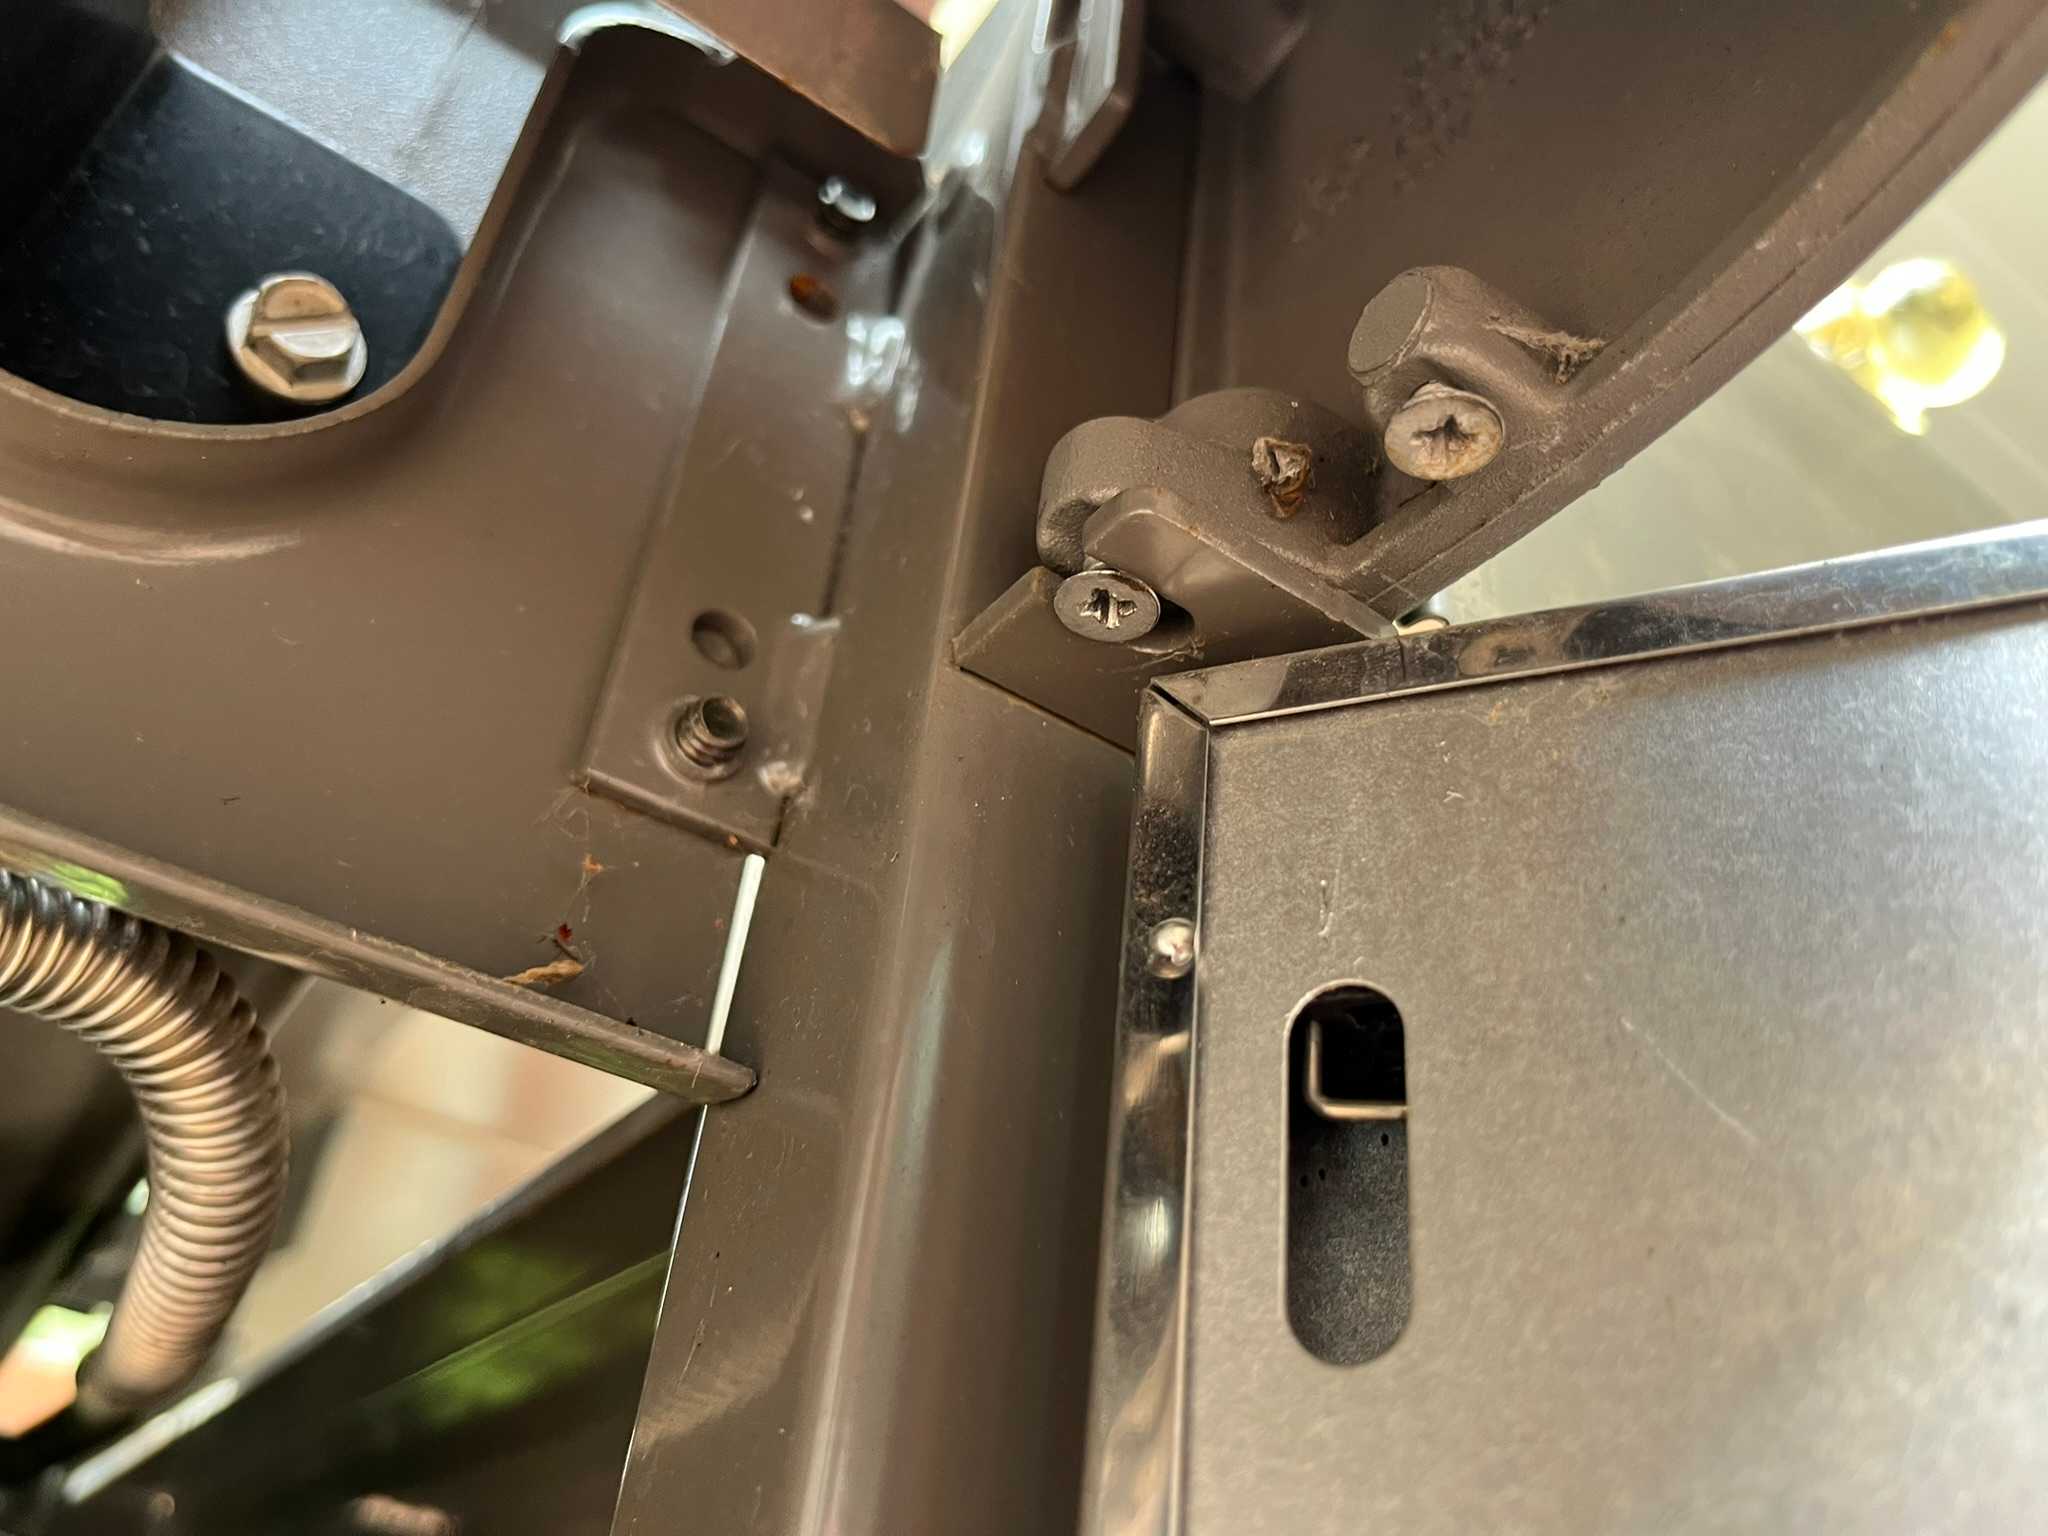
Inside, there’s one last metallic cover that protects the internal electronics from the weather. Using the above images, you can see how two screws secure this cover. After removing those, we can now access the electrodes.
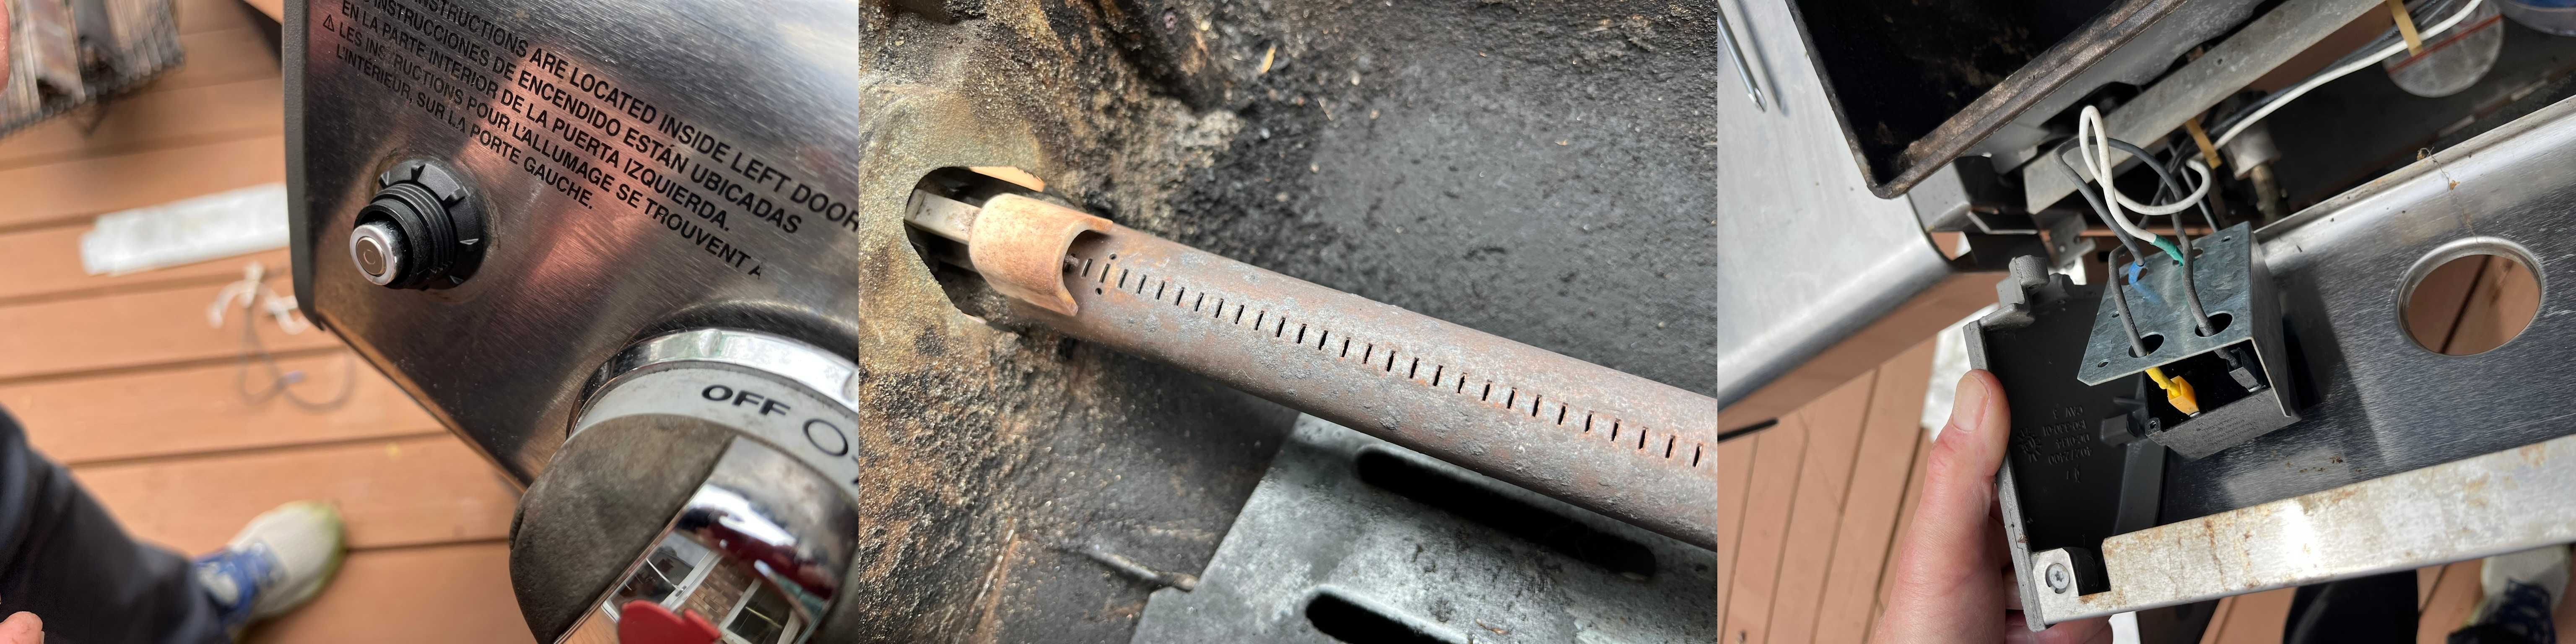
With the final cover removed, we can clearly see how the igniter button connects to the rest of the system.
The Fix
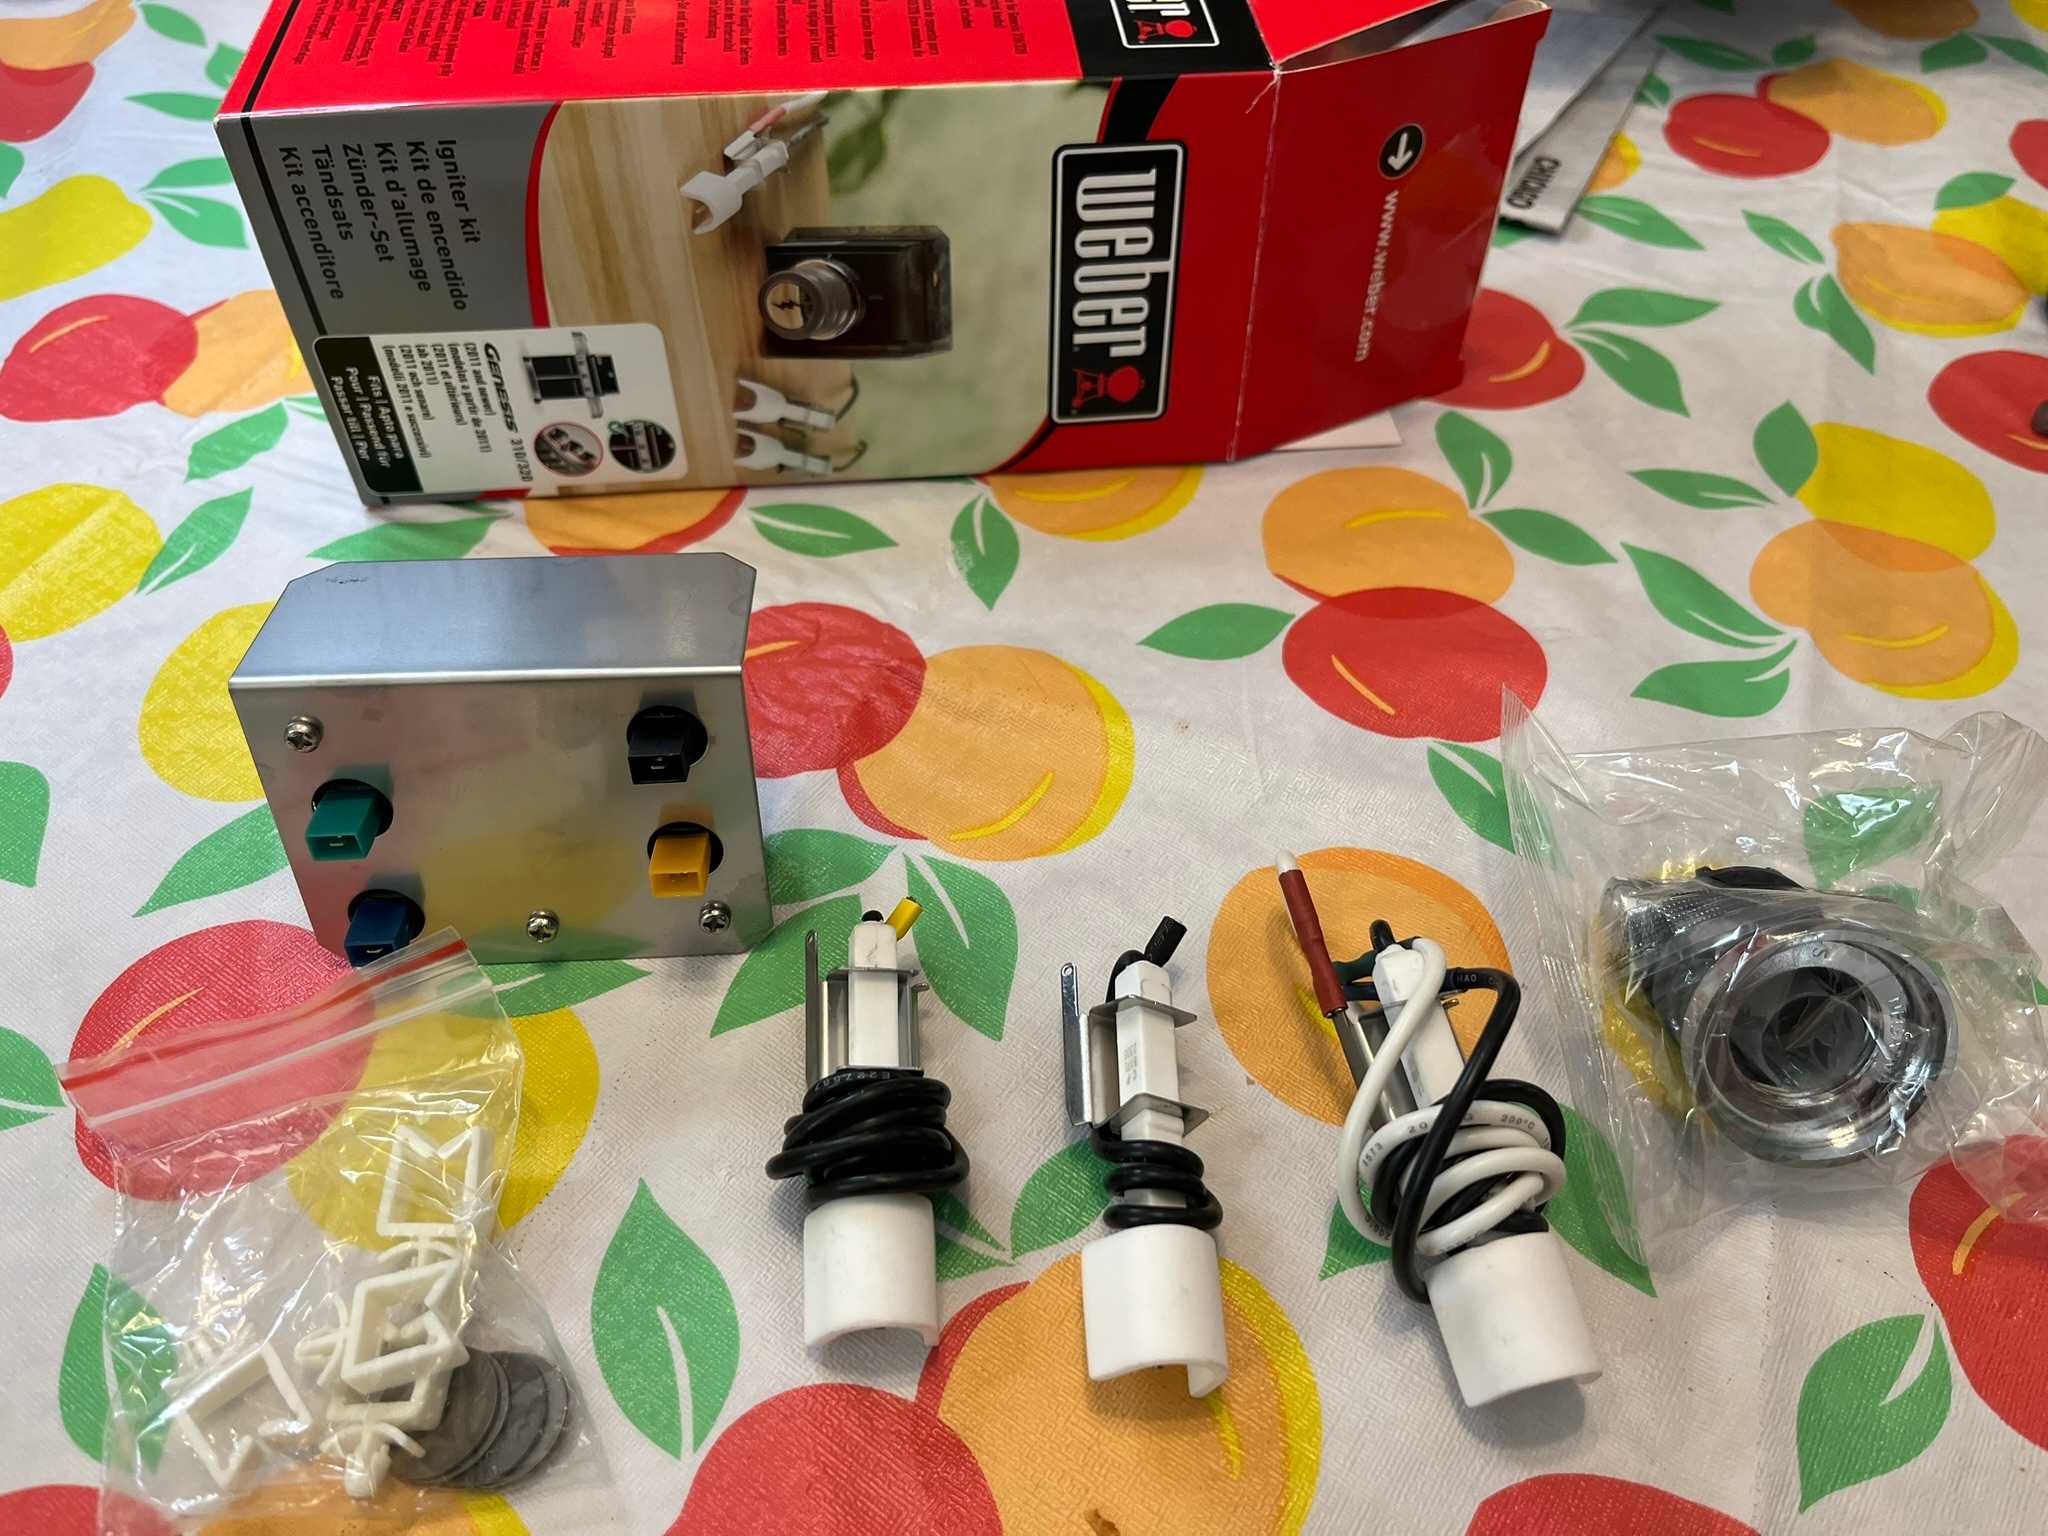
We purchased a $60 replacement kit from Ace hardware. Online, you can find the same kit for slightly cheaper.
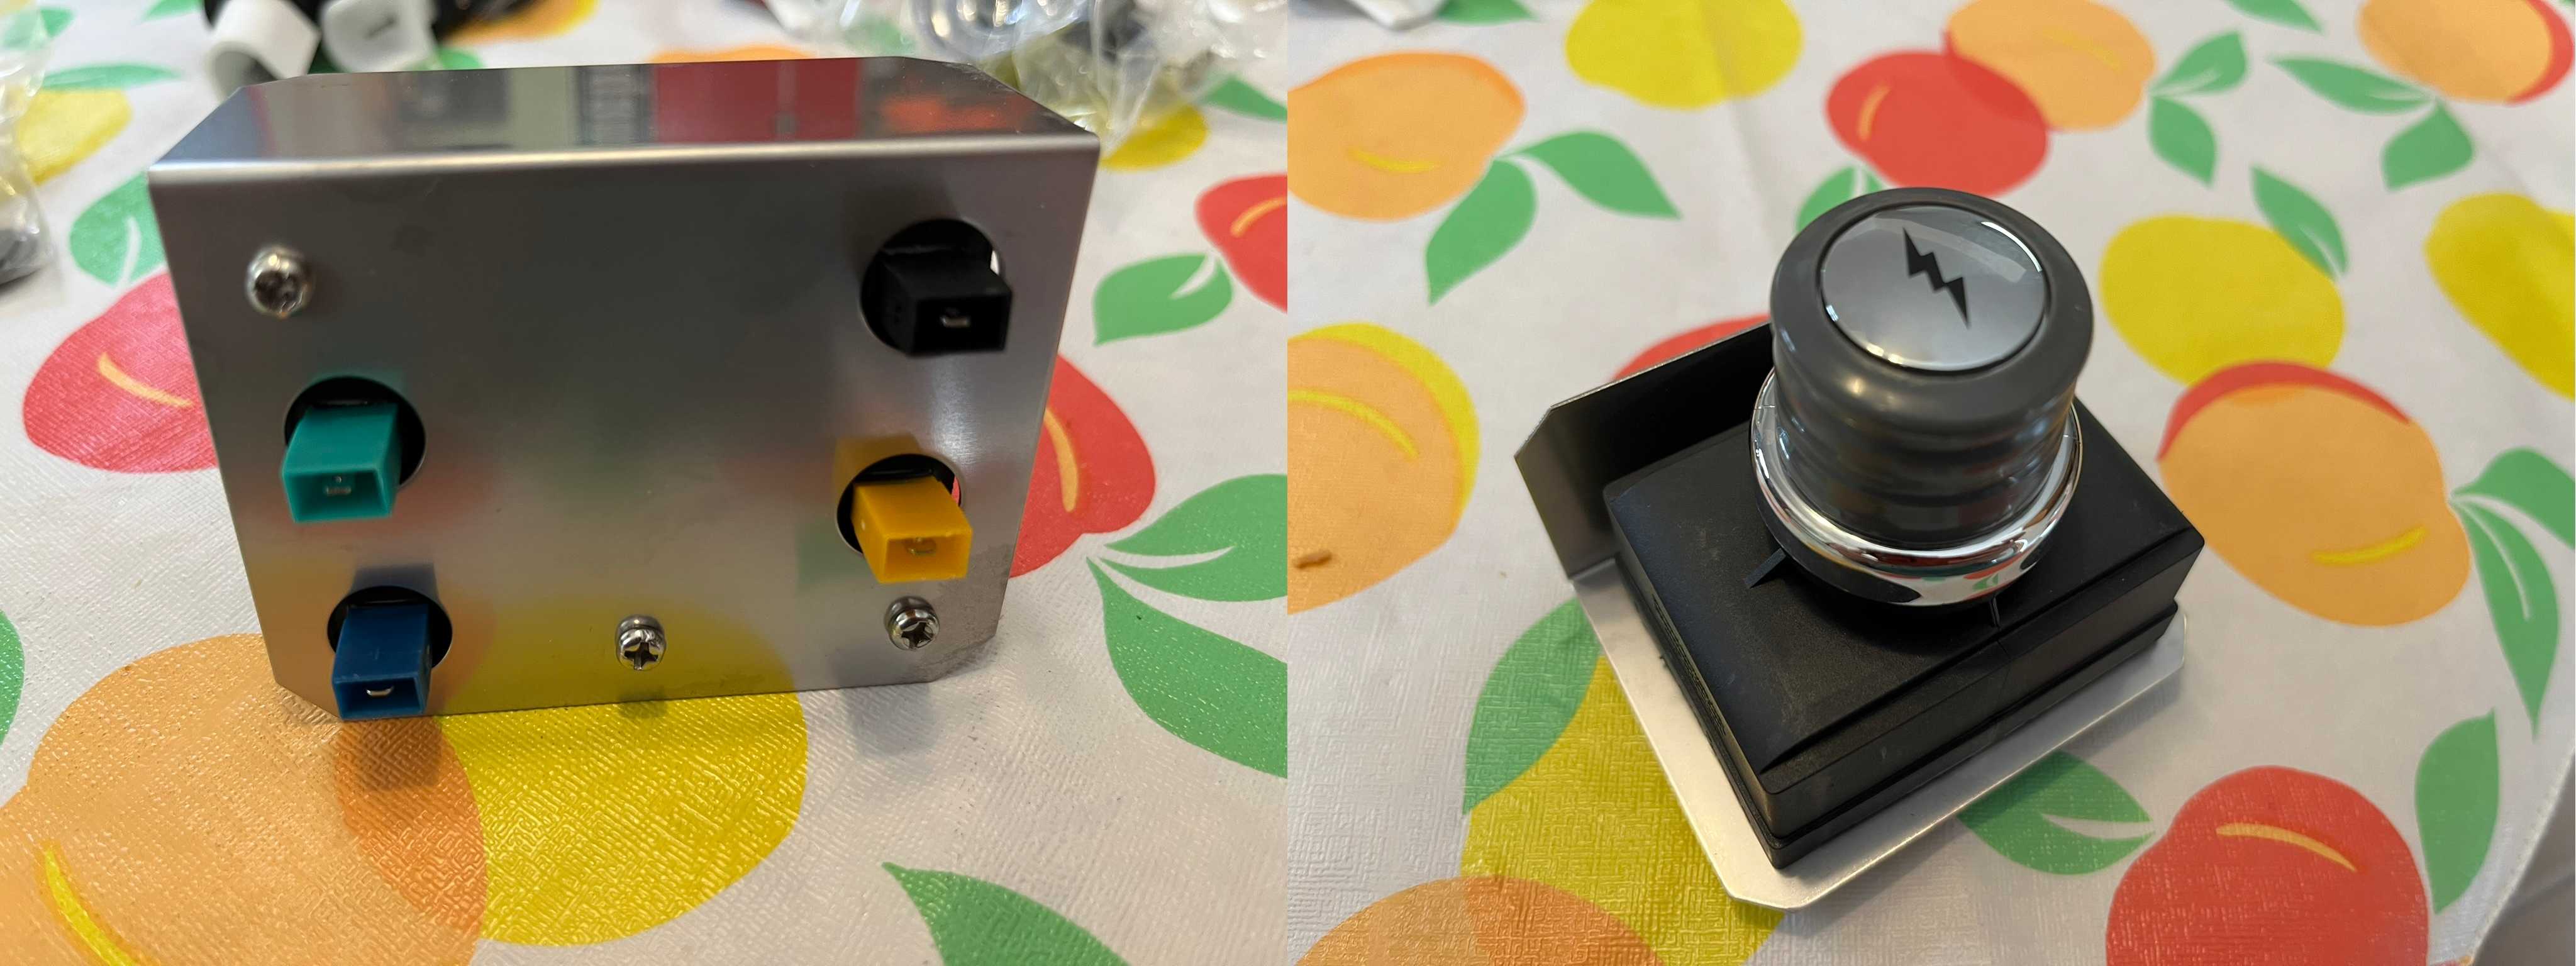
The main portion of today’s fix will involve the above button. On the bottom, there are three connections for the electrodes (blue, yellow, and black). Additionally, there is also a ground (green) that connects to the grill in order to complete the circuit.

On the left, you can see the original electrodes. Although they may still be functional, we decided to replace them out of caution. We couldn’t remove the metal clips from the grill, so we decided to remove the ceramic portion of the electrode and swap them with the clip in place. Using pliers, I bent the metal clip tight to keep the ceramic from slipping.
Because we kept the original clips in place, we reused the original grounding wire. Reinstalling the internal panel, we ran the wires back to where the new button would be installed.
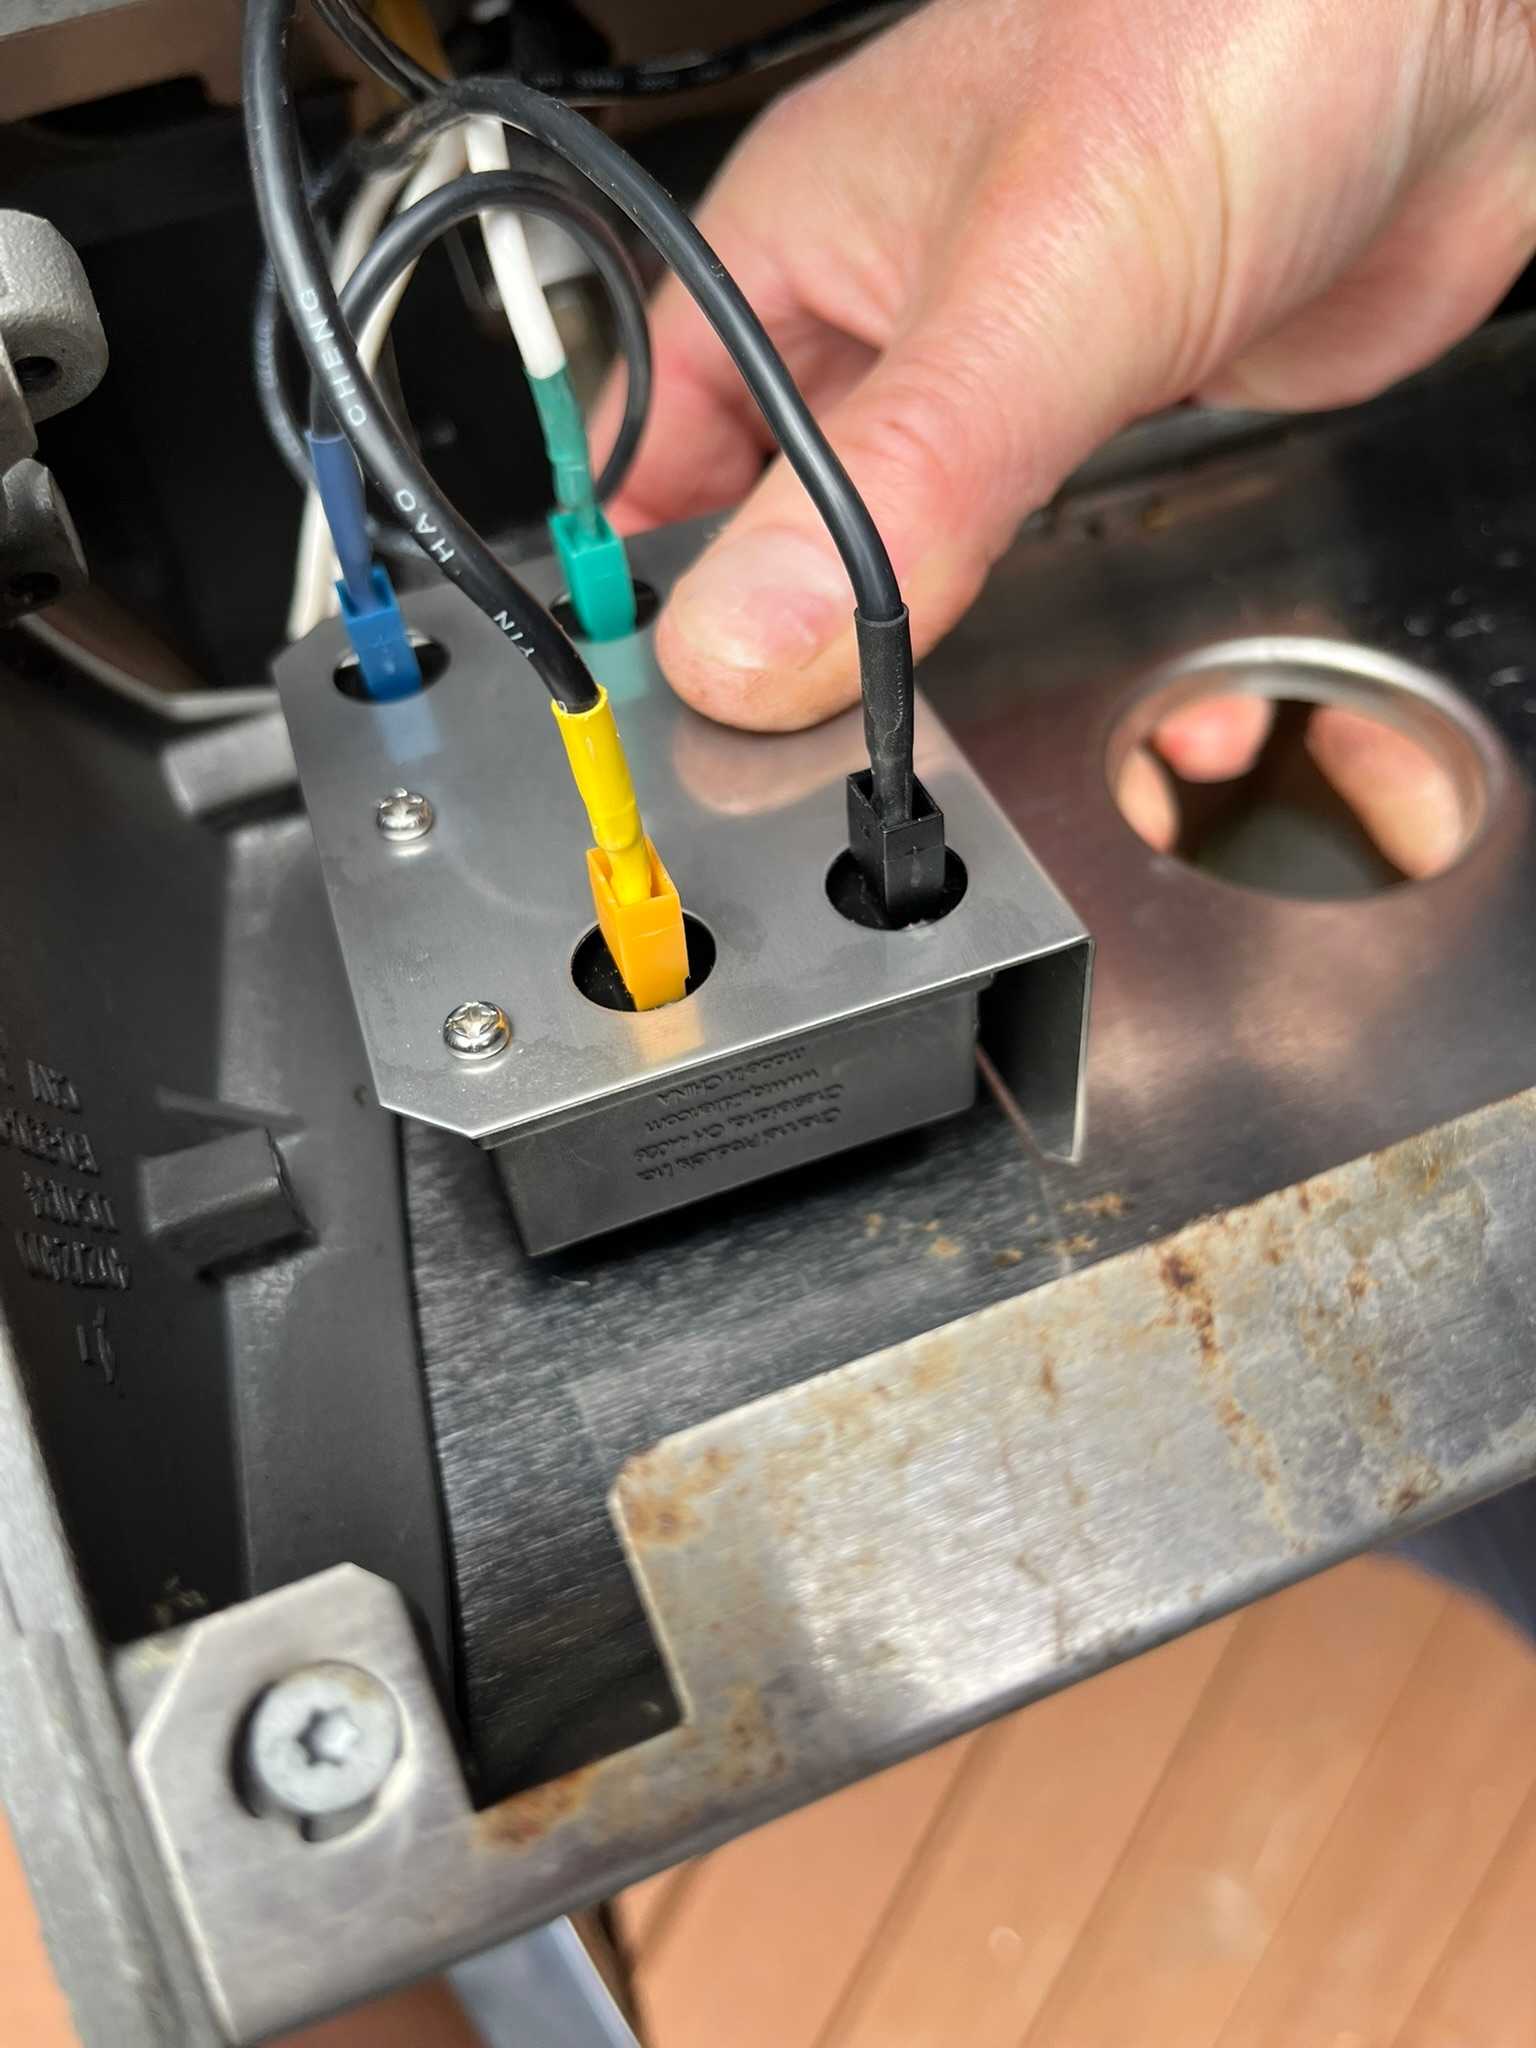
With the wires connected to the new button, it was time to test the system.
Testing

After a small investment in time and money, we finally got results! Pushing the button on the front of the grill, we can see a clean spark from the electrodes! With a bit of propane, that spark successfully ignited the grill.
Conclusion
Disappointingly, we had to go to three stores before we found the replacement parts for the igniter. Each store we went to had a selection of new grills, but only one offered all the parts required for grill repair. This is an unacceptable standard.
This simple repair not only saved us from an expensive replacement grill, but also helped reduce unnecessary waste. In a world leaning toward throwaway culture, small repairs like this are a quiet act of environmental stewardship.